• Home
  • Recipes
    • Vegan
    • Vegetarians
    • Meat Lovers
    • Seafood
    • Desserts & Sweets
    • Breakfast & Brunch
    • Dinner
    • Quick & Easy
  • Drinks
    • Cocktails & Spirits
    • Coffee, Tea & Hot Beverages
    • Non-Alcoholic & Mocktails
    • Smoothies & Shakes
  • Lifestyle
    • Editor’s Pick
    • Kitchen Gadgets
Healthful Plate
keep your memories alive
DinnerQuick & EasyRecipesSeafood

Homemade Lobster Ravioli in Garlic Butter Sauce

by donnyvicky February 13, 2025
written by donnyvicky

Imagine biting into a delicate pasta filled with succulent lobster and smothered in a rich garlic butter sauce. This lobster ravioli recipe is the epitome of indulgence, perfect for special occasions or when you want to treat yourself to something extraordinary. With just a few key ingredients and some simple steps, you can create a restaurant-quality dish right in your own kitchen.

The combination of fresh lobster and velvety garlic butter creates a luxurious experience that will tantalize your taste buds. Each bite is a delightful explosion of flavors, making it a memorable meal that’ll impress anyone lucky enough to share it with you.

Decadent Lobster Ravioli for an Elegant Dinner
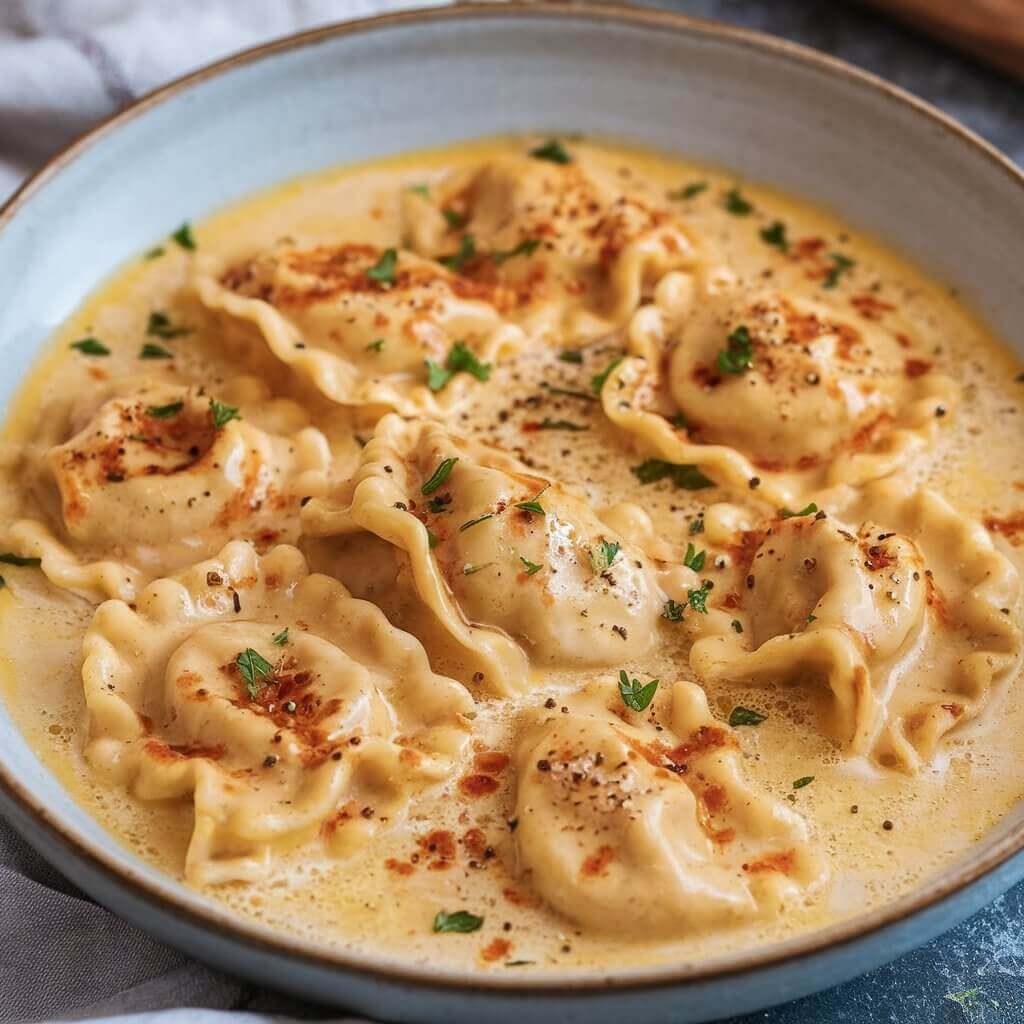
These homemade lobster ravioli are filled with tender chunks of lobster meat and creamy ricotta, all enveloped in a silky pasta that melts in your mouth. Tossed in a fragrant garlic butter sauce, this dish is both rich and satisfying, with a hint of sweetness from the lobster.

Ingredients

  • 2 cups all-purpose flour
  • 3 large eggs
  • 1 cup cooked lobster meat, finely chopped
  • 1/2 cup ricotta cheese
  • 1/4 cup grated Parmesan cheese
  • Salt and pepper to taste
  • 1/2 cup unsalted butter
  • 4 cloves garlic, minced
  • Fresh parsley, chopped for garnish

Instructions

  1. Make the Pasta Dough: On a clean surface, mound the flour and create a well in the center. Add the eggs and a pinch of salt, then gradually mix the flour into the eggs until a dough forms. Knead until smooth and elastic, about 8-10 minutes. Wrap in plastic wrap and let it rest for 30 minutes.
  2. Prepare the Filling: In a bowl, combine the chopped lobster meat, ricotta cheese, Parmesan cheese, salt, and pepper. Mix until well combined.
  3. Roll Out the Pasta: Divide the rested dough into four portions. Roll out one portion at a time, keeping the others covered. Use a pasta machine or rolling pin to achieve thin sheets.
  4. Fill the Ravioli: Place small spoonfuls of the lobster filling about 1 inch apart on one sheet of pasta. Moisten the edges with water, then place another sheet of pasta on top. Press down gently to seal, ensuring there are no air pockets. Cut into individual ravioli shapes.
  5. Cook the Ravioli: Bring a large pot of salted water to a boil. Gently add the ravioli and cook for 3-4 minutes, or until they float to the surface. Remove with a slotted spoon.
  6. Make the Garlic Butter Sauce: In a skillet, melt the butter over medium heat. Add the minced garlic and sauté until fragrant, about 2 minutes. Add the cooked ravioli and toss to coat evenly.
  7. Serve: Plate the ravioli and drizzle with additional garlic butter sauce. Garnish with chopped parsley and serve immediately.

Cook and Prep Times

  • Prep Time: 45 minutes
  • Cook Time: 10 minutes
  • Total Time: 55 minutes

Nutrition Information

  • Servings: 4 plates
  • Calories: 540kcal
  • Fat: 30g
  • Protein: 25g
  • Carbohydrates: 45g
February 13, 2025 0 comments
0 FacebookTwitterPinterestEmail
DinnerQuick & EasyRecipesSeafood

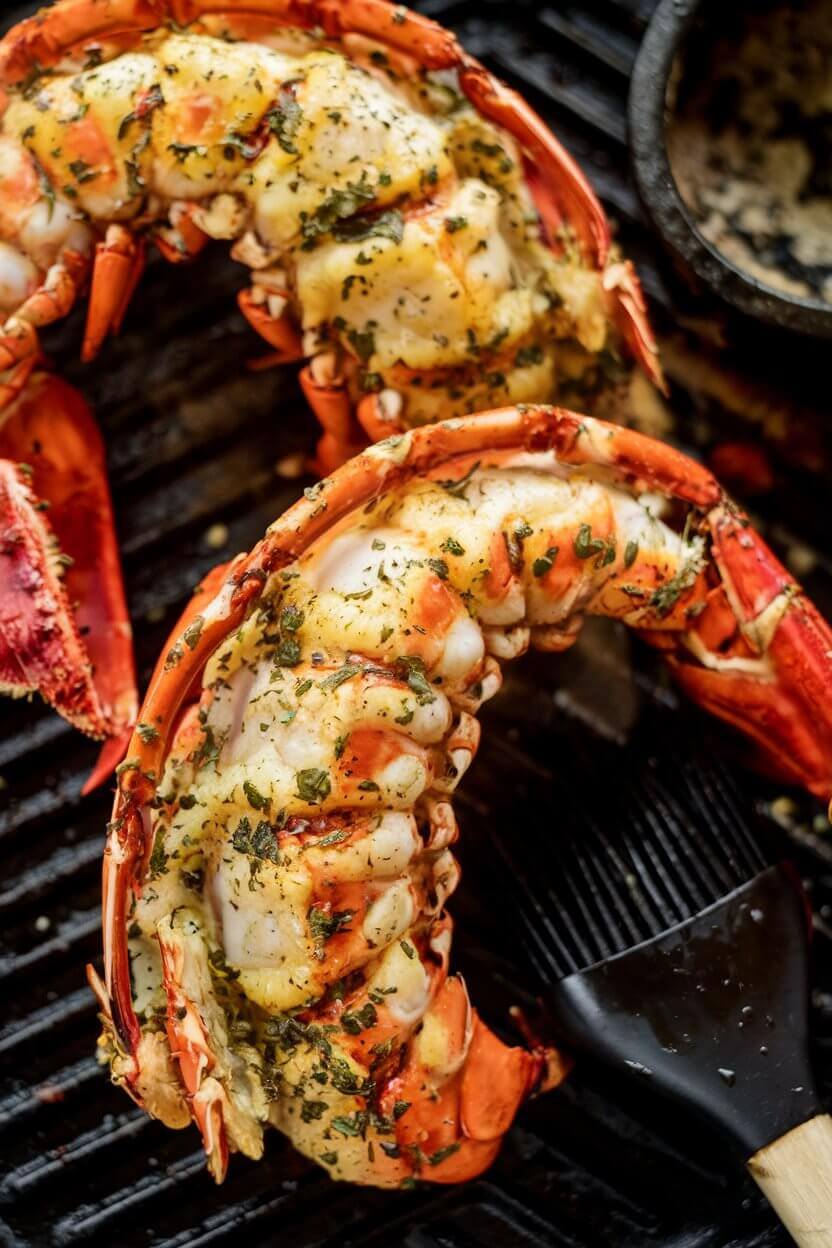
Savory Garlic Butter Lobster Tail Recipe

by donnyvicky February 13, 2025
written by donnyvicky

Indulge in the luxurious flavors of garlic butter lobster tail, a dish that brings the taste of the ocean right to your table. It’s perfect for special occasions or when you simply want to treat yourself to something extraordinary. Imagine tender lobster tails bathed in rich garlic butter, creating a delightful symphony of flavors that dance on your palate.

This recipe is not just about the lobster tail; it’s about creating an experience. With each bite, you’ll taste the succulent sweetness of the lobster paired with the aromatic essence of garlic and the richness of butter. Whether you’re hosting a fancy dinner or enjoying a quiet night in, this dish will impress.

The Ultimate Garlic Butter Lobster Experience

This garlic butter lobster is a mouthwatering dish featuring juicy lobster tails smothered in a golden garlic butter sauce. It’s a perfect balance of rich, buttery flavor and the natural sweetness of the lobster, making it a gourmet delight that’s surprisingly easy to prepare.

Ingredients

  • 4 lobster tails, thawed if frozen
  • 1/2 cup unsalted butter
  • 4 cloves garlic, minced
  • 2 tablespoons fresh lemon juice
  • 1 teaspoon paprika
  • Salt and pepper to taste
  • Chopped fresh parsley for garnish

Instructions

  1. Preheat the Oven: Preheat your oven to 425°F (220°C).
  2. Prepare the Lobster: Using kitchen shears, cut the top shell of the lobster tails lengthwise down the center. Gently pull the meat up so it sits on top of the shell.
  3. Make Garlic Butter: In a saucepan, melt the butter over medium heat. Add minced garlic and sauté until fragrant, about 1-2 minutes. Stir in lemon juice, paprika, salt, and pepper.
  4. Coat the Lobster: Place the lobster tails on a baking sheet and generously brush them with the garlic butter mixture.
  5. Bake: Bake in the preheated oven for 12-15 minutes, or until the lobster meat is opaque and cooked through.
  6. Garnish and Serve: Remove from the oven and drizzle remaining garlic butter over the lobster tails. Garnish with chopped parsley and serve immediately.

Cook and Prep Times

  • Prep Time: 10 minutes
  • Cook Time: 15 minutes
  • Total Time: 25 minutes

Nutrition Information

  • Servings: 4
  • Calories: 350 kcal
  • Fat: 30g
  • Protein: 25g
  • Carbohydrates: 1g
February 13, 2025 0 comments
0 FacebookTwitterPinterestEmail
DinnerMeat LoversQuick & EasyRecipes

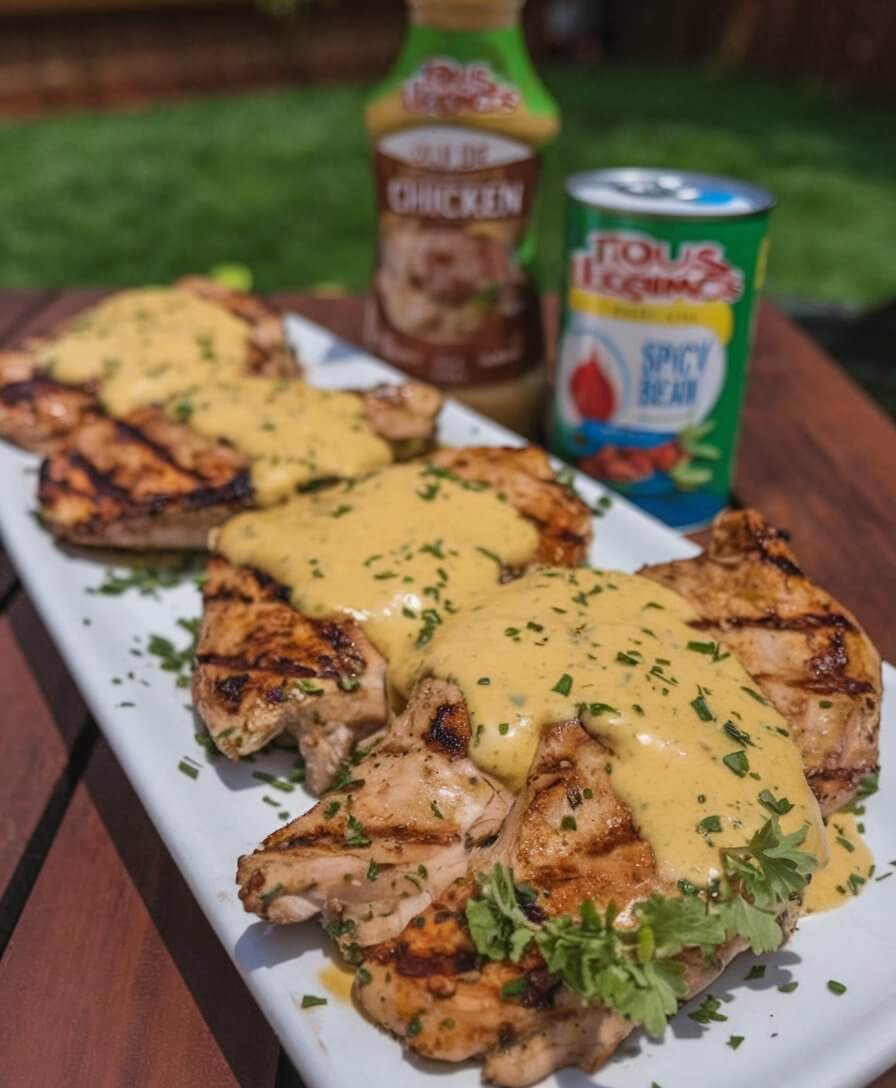
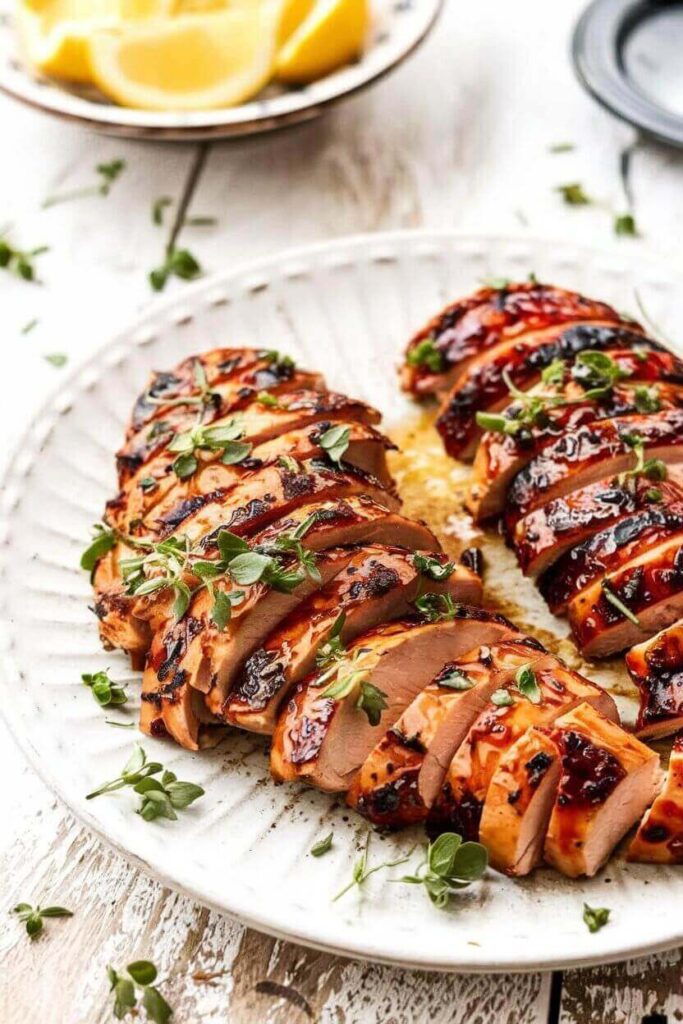
Grilled Stuffed Chicken Breast with Creamy Garlic Sauce

by donnyvicky February 13, 2025
written by donnyvicky

Picture this: succulent grilled chicken breasts, stuffed with a delightful mixture of herbs and cheese, topped with a rich and creamy garlic sauce. This dish is sure to impress at any dinner gathering, making you the star of the evening. Whether you’re cooking for family or entertaining friends, this recipe brings a touch of elegance to your table.

The combination of tender chicken and indulgent cream sauce creates a dish that is both comforting and gourmet. Imagine cutting into the juicy chicken to reveal a flavorful stuffing that perfectly complements the smooth sauce. It’s a fantastic way to elevate a simple weeknight dinner into something special.

Delicious Grilled Stuffed Chicken with Cream Sauce

This grilled stuffed chicken is a flavor-packed meal featuring juicy chicken breasts filled with a savory herb and cheese mixture. The creamy garlic sauce adds a luscious touch, making each bite truly satisfying.

Ingredients

  • 4 boneless, skinless chicken breasts
  • 1 cup spinach, chopped
  • 1 cup cream cheese, softened
  • 1/2 cup feta cheese, crumbled
  • 1 teaspoon garlic powder
  • 1 teaspoon onion powder
  • Salt and pepper to taste
  • 1 tablespoon olive oil
  • 1 cup heavy cream
  • 2 cloves garlic, minced
  • 1 tablespoon fresh parsley, chopped (for garnish)

Instructions

  1. Prepare the Filling: In a bowl, combine the chopped spinach, cream cheese, feta cheese, garlic powder, onion powder, salt, and pepper until well mixed.
  2. Stuff the Chicken: Using a sharp knife, create a pocket in each chicken breast. Fill each pocket with the spinach and cheese mixture, securing with toothpicks if necessary.
  3. Grill the Chicken: Preheat the grill to medium-high heat. Brush the chicken with olive oil and season with salt and pepper. Grill the chicken for 6-7 minutes on each side, or until fully cooked and internal temperature reaches 165°F (75°C).
  4. Make the Cream Sauce: In a saucepan over medium heat, melt butter and sauté minced garlic until fragrant. Pour in the heavy cream and simmer for 5-7 minutes until slightly thickened. Season with salt and pepper to taste.
  5. Serve: Remove toothpicks from the chicken and plate. Drizzle the creamy garlic sauce over the stuffed chicken, and garnish with fresh parsley.

Cook and Prep Times

  • Prep Time: 15 minutes
  • Cook Time: 15 minutes
  • Total Time: 30 minutes

Nutrition Information

  • Servings: 4
  • Calories: 450kcal
  • Fat: 30g
  • Protein: 35g
  • Carbohydrates: 5g
February 13, 2025 0 comments
0 FacebookTwitterPinterestEmail
DinnerMeat LoversQuick & EasyRecipes

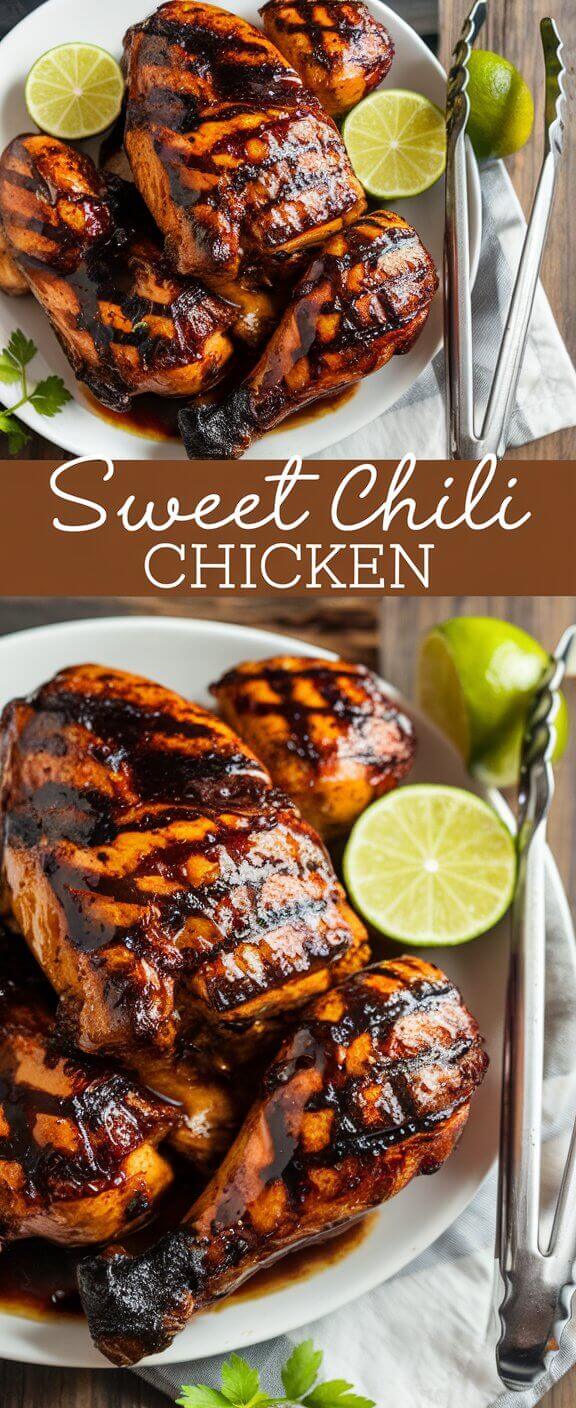
Sweet and Spicy Chicken Marinade Recipe

by donnyvicky February 13, 2025
written by donnyvicky

Looking to elevate your chicken dishes? This sweet chili chicken marinade combines the perfect blend of sweetness and spice, making any chicken cut irresistible. It’s an easy way to add a burst of flavor to your meals, whether you’re grilling or baking.

This marinade is not just delicious, it’s incredibly versatile too! Use it on chicken breasts, thighs, or even wings for a crowd-pleasing dish that will have everyone coming back for seconds. Plus, with just a few simple ingredients, you can whip this up in no time.

The Ultimate Sweet Chili Chicken Marinade

This sweet chili chicken marinade offers a perfect balance of sweet and spicy flavors, creating a savory dish that will tantalize your taste buds. Your chicken will be infused with a delectable glaze that caramelizes beautifully when cooked.

Ingredients

  • 1/2 cup sweet chili sauce
  • 1/4 cup soy sauce
  • 2 tablespoons rice vinegar
  • 2 tablespoons honey or brown sugar
  • 1 tablespoon minced garlic
  • 1 teaspoon grated ginger
  • 1/2 teaspoon red pepper flakes (optional)
  • 4 chicken breasts or any chicken cuts of your choice

Instructions

  1. Combine Ingredients: In a bowl, whisk together the sweet chili sauce, soy sauce, rice vinegar, honey, minced garlic, grated ginger, and red pepper flakes until well combined.
  2. Marinate the Chicken: Place your chicken in a large resealable bag or a shallow dish. Pour the marinade over the chicken, ensuring all pieces are coated. Seal the bag or cover the dish and refrigerate for at least 30 minutes, or up to 4 hours for more flavor.
  3. Cook the Chicken: Preheat your grill or oven. If grilling, cook over medium-high heat for 6-7 minutes per side or until internal temperature reaches 165°F (74°C). If baking, place on a baking sheet and cook at 400°F (200°C) for 25-30 minutes.
  4. Serve: Remove the chicken from the grill or oven and let it rest for a few minutes before slicing. Serve it with steamed rice or a fresh salad to complement the flavors.

Cook and Prep Times

  • Prep Time: 10 minutes
  • Marinating Time: 30 minutes
  • Cook Time: 30 minutes
  • Total Time: 1 hour and 10 minutes

Nutrition Information

  • Servings: 4 servings
  • Calories: 250kcal
  • Fat: 5g
  • Protein: 30g
  • Carbohydrates: 20g
February 13, 2025 0 comments
0 FacebookTwitterPinterestEmail
DinnerMeat LoversQuick & EasyRecipes

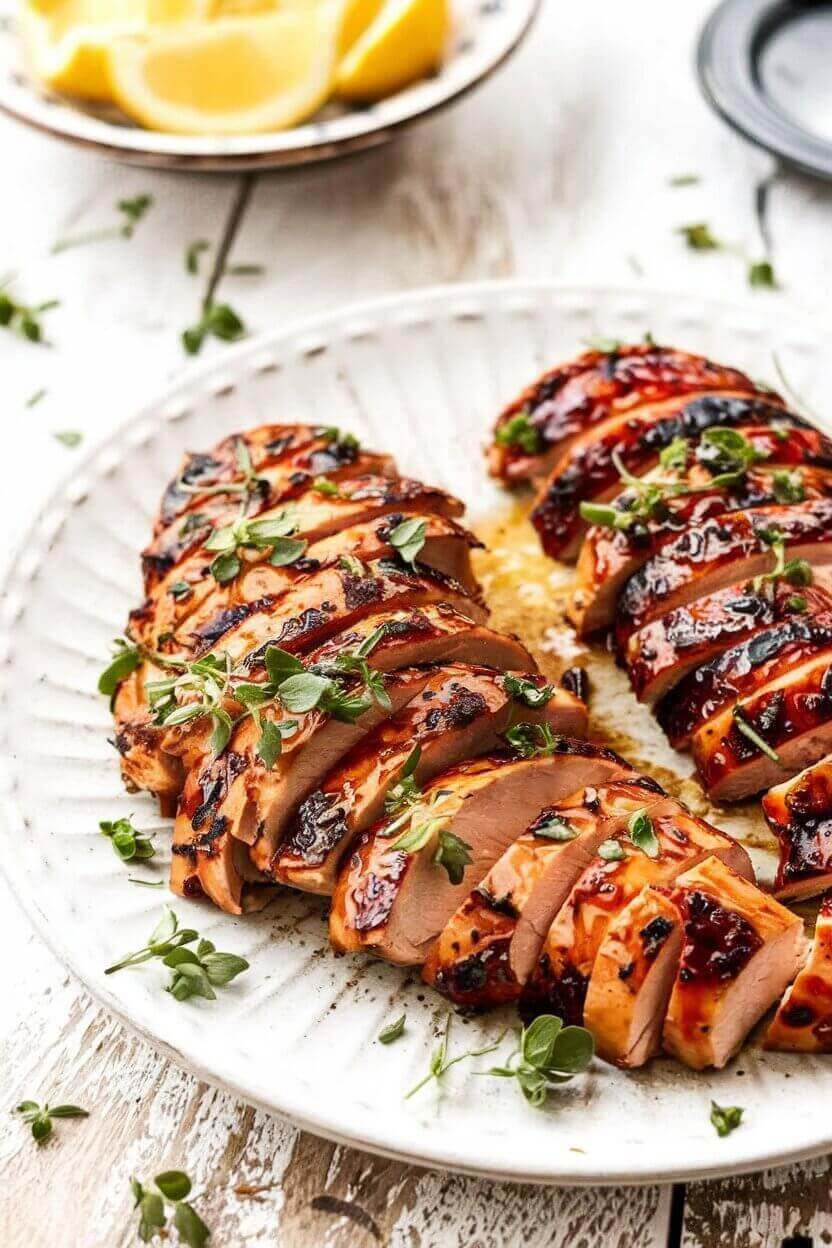
Savory Herb Chicken Marinade for Grilling

by donnyvicky February 13, 2025
written by donnyvicky

Are you looking to elevate your grilling game? This savory herb chicken marinade is a game changer. Whether you’re hosting a barbecue or enjoying a quiet dinner at home, this marinade will infuse your chicken with mouthwatering flavor that your taste buds will thank you for.

The beauty of this marinade lies in its simplicity and versatility. Using fresh herbs and aromatic ingredients, you can transform ordinary chicken into a tantalizing centerpiece. Plus, it works wonderfully with a variety of chicken cuts, making it perfect for any occasion.

The Ultimate Chicken Marinade

This chicken marinade combines fragrant herbs and tangy citrus, resulting in a deliciously tender and flavorful grilled chicken. The perfect balance of savory and zesty makes every bite a delight.

Ingredients

  • 1/4 cup olive oil
  • 2 tablespoons lemon juice
  • 2 tablespoons balsamic vinegar
  • 4 cloves garlic minced
  • 2 teaspoons dried oregano
  • 1 teaspoon dried thyme
  • 1 teaspoon salt
  • 1/2 teaspoon black pepper
  • 1 tablespoon honey (optional)
  • 4 chicken breasts or thighs

Instructions

  1. Mix the Marinade: In a bowl, whisk together olive oil, lemon juice, balsamic vinegar, minced garlic, oregano, thyme, salt, pepper, and honey until well combined.
  2. Marinate the Chicken: Place the chicken in a resealable plastic bag or a shallow dish and pour the marinade over it. Seal or cover and refrigerate for at least 1 hour, or up to overnight for maximum flavor.
  3. Prepare the Grill: Preheat your grill to medium-high heat. Remove the chicken from the marinade and discard the marinade.
  4. Grill the Chicken: Cook the chicken for 6-7 minutes on each side, or until it reaches an internal temperature of 165°F (75°C) and has nice grill marks.
  5. Rest and Serve: Remove the chicken from the grill and let it rest for 5 minutes before slicing. Serve with your favorite sides.

Cook and Prep Times

  • Prep Time: 10 minutes
  • Marinating Time: 1 hour
  • Cook Time: 15 minutes
  • Total Time: 1 hour 25 minutes

Nutrition Information

  • Servings: 4 servings
  • Calories: 300kcal
  • Fat: 18g
  • Protein: 28g
  • Carbohydrates: 5g
February 13, 2025 0 comments
0 FacebookTwitterPinterestEmail
DinnerMeat LoversQuick & EasyRecipes

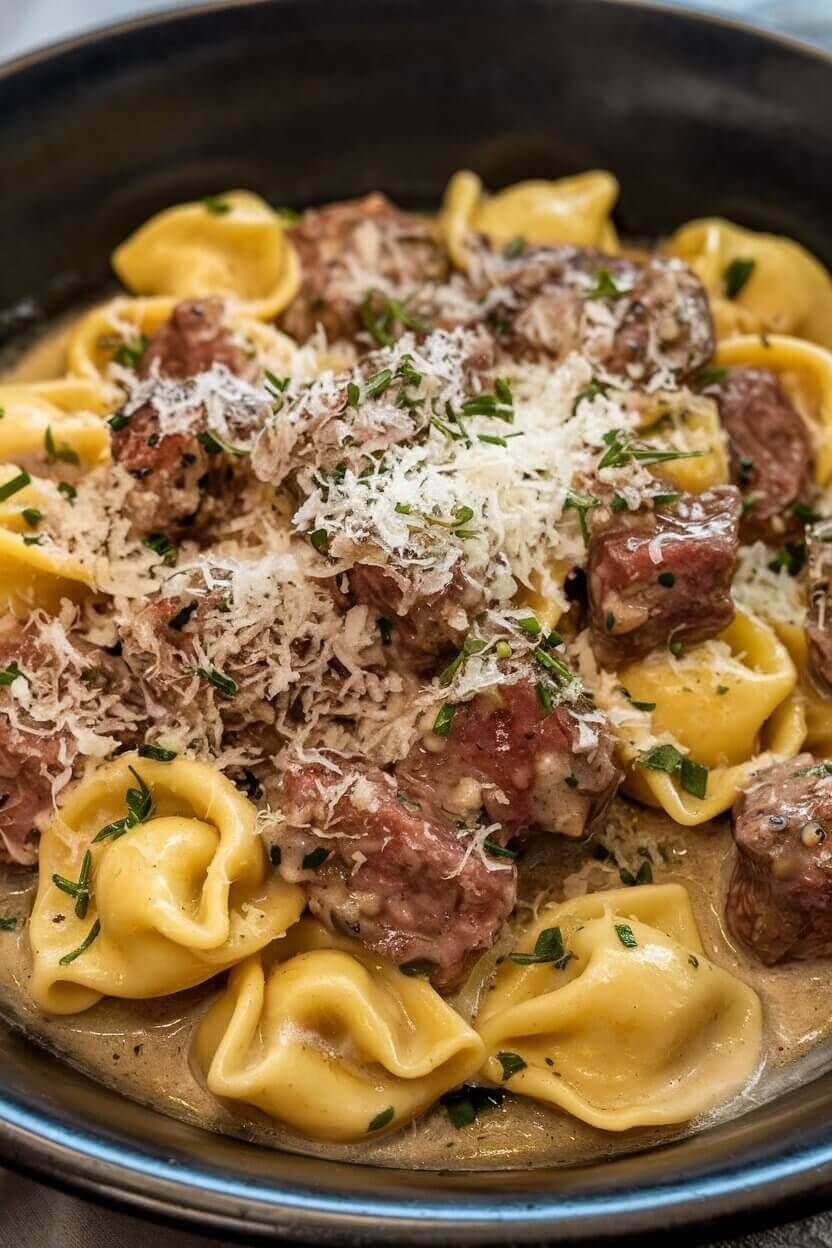
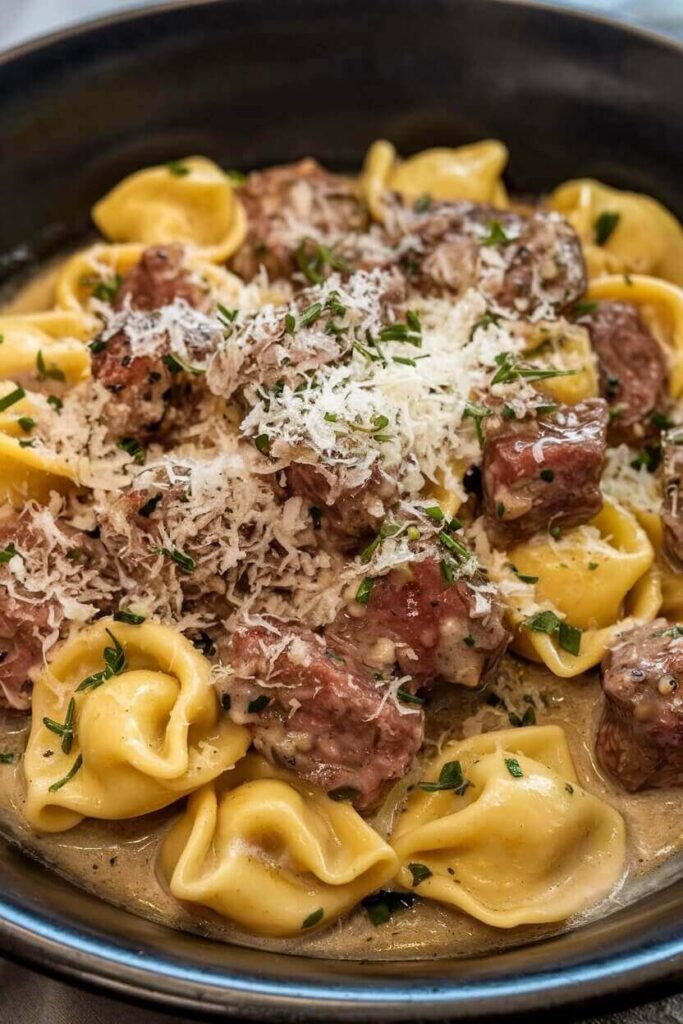
Creamy Beef and Parmesan Tortellini Skillet

by donnyvicky February 12, 2025
written by donnyvicky

If you’re looking for a quick, delightful meal that combines the richness of beef with the comforting creaminess of parmesan, this Creamy Beef and Parmesan Tortellini Skillet is just what you need. This one-pan dish is perfect for busy weeknights when you want something hearty yet simple to prepare.

Imagine tender beef mingling with fluffy tortellini in a luscious creamy sauce, topped with a sprinkle of parmesan that adds a nutty flavor. It’s a satisfying dish that not only pleases the taste buds but also makes cleanup a breeze!

A Quick and Hearty Skillet Recipe

This creamy skillet dish features perfectly cooked beef and cheese-filled tortellini, all enveloped in a rich cream sauce. Each bite is a blend of savory flavors and creamy textures, making it a family favorite for any occasion.

Ingredients

  • 1 pound ground beef
  • 2 cups cheese tortellini, fresh or frozen
  • 1 cup heavy cream
  • 1 cup grated parmesan cheese
  • 1 medium onion, diced
  • 2 cloves garlic, minced
  • 1 tablespoon olive oil
  • 1 teaspoon Italian seasoning
  • Salt and pepper to taste
  • Fresh parsley for garnish

Instructions

  1. Sauté Beef: In a large skillet over medium heat, heat the olive oil. Add the diced onion and minced garlic, cooking until soft. Add the ground beef, breaking it apart with a spoon, and cook until browned.
  2. Cook Tortellini: Stir in the tortellini and Italian seasoning. Pour in the heavy cream and bring to a gentle simmer. Cook according to tortellini package instructions until al dente.
  3. Add Cheese: Stir in the grated parmesan cheese until melted and combined. Season with salt and pepper to taste.
  4. Serve: Garnish with fresh parsley and serve hot, enjoying the creamy goodness!

Cook and Prep Times

  • Prep Time: 10 minutes
  • Cook Time: 20 minutes
  • Total Time: 30 minutes

Nutrition Information

  • Servings: 4 servings
  • Calories: 540kcal
  • Fat: 30g
  • Protein: 32g
  • Carbohydrates: 36g
February 12, 2025 0 comments
0 FacebookTwitterPinterestEmail
DinnerMeat LoversQuick & EasyRecipes

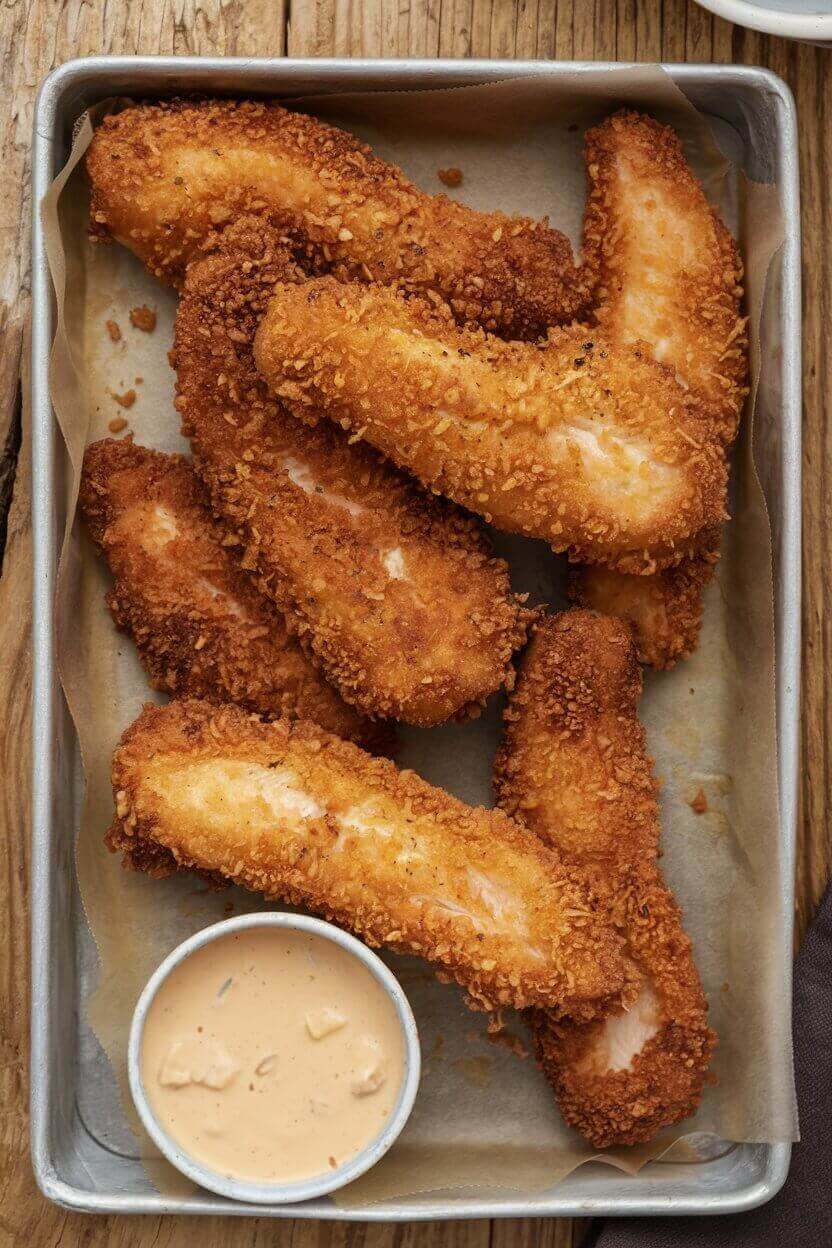
Crispy Bang Bang Chicken Tenderloins Recipe

by donnyvicky February 12, 2025
written by donnyvicky

Are you ready for a flavor explosion? This Bang Bang Chicken recipe features panko-crusted chicken tenderloins that are not just crispy but incredibly addictive. Perfect for a quick weeknight dinner or a tasty appetizer, this dish will have everyone asking for seconds.

Imagine juicy chicken coated in a crunchy panko crust, then drizzled with a creamy, spicy sauce that brings the heat. It’s a delightful combination of textures and flavors that will have your taste buds dancing.

The Perfect Crunchy Chicken Dish

These crispy Bang Bang Chicken tenderloins are golden brown and perfectly seasoned. The crunchy panko coating gives each bite a satisfying crunch, while the rich and spicy sauce adds a zesty kick, making it a thrilling dish for anyone who loves bold flavors.

Ingredients

  • 1 pound chicken tenderloins
  • 1 cup panko breadcrumbs
  • 1/2 cup all-purpose flour
  • 2 large eggs, beaten
  • 1 teaspoon garlic powder
  • 1 teaspoon onion powder
  • Salt and pepper to taste
  • Oil for frying
  • 1/2 cup mayonnaise
  • 2 tablespoons sweet chili sauce
  • 1 tablespoon sriracha sauce (adjust to taste)
  • Chopped green onions for garnish

Instructions

  1. Prepare the Chicken: Season the chicken tenderloins with salt, pepper, garlic powder, and onion powder.
  2. Set Up Breading Station: In one bowl, place the flour; in another, the beaten eggs; and in the third, the panko breadcrumbs.
  3. Coat the Chicken: Dredge each tenderloin in flour, then dip in eggs, and finally coat with panko breadcrumbs, pressing gently to adhere.
  4. Fry the Chicken: In a large skillet, heat oil over medium-high heat. Fry the chicken in batches until golden brown and cooked through, about 3-4 minutes per side. Transfer to a paper towel-lined plate to drain excess oil.
  5. Make the Bang Bang Sauce: In a small bowl, whisk together the mayonnaise, sweet chili sauce, and sriracha until smooth. Adjust the spice level as desired.
  6. Serve: Drizzle the Bang Bang sauce over the crispy chicken tenderloins or serve on the side for dipping. Garnish with chopped green onions.

Cook and Prep Times

  • Prep Time: 15 minutes
  • Cook Time: 15 minutes
  • Total Time: 30 minutes

Nutrition Information

  • Servings: 4
  • Calories: 350kcal
  • Fat: 20g
  • Protein: 25g
  • Carbohydrates: 20g
February 12, 2025 0 comments
0 FacebookTwitterPinterestEmail
DinnerQuick & EasyRecipesSeafood

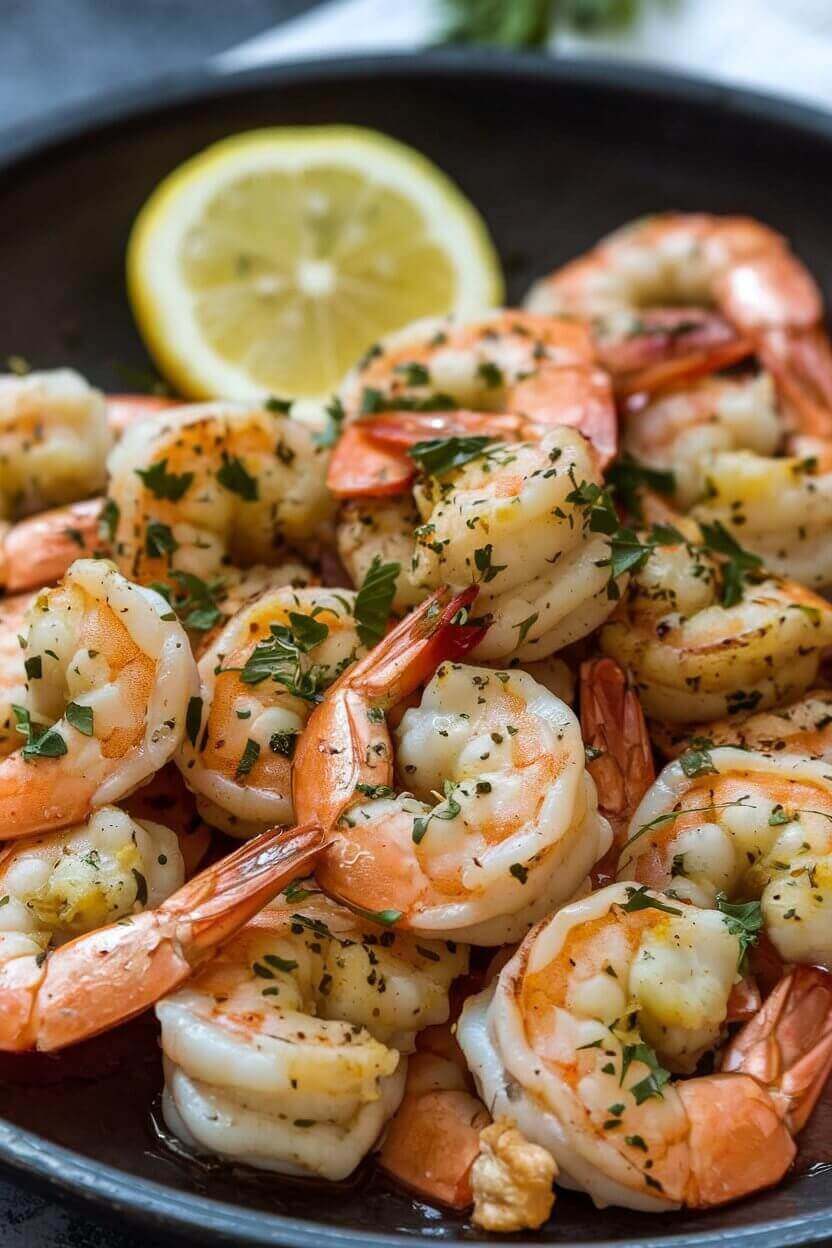
Savory Garlic Butter Shrimp Recipe

by donnyvicky February 12, 2025
written by donnyvicky

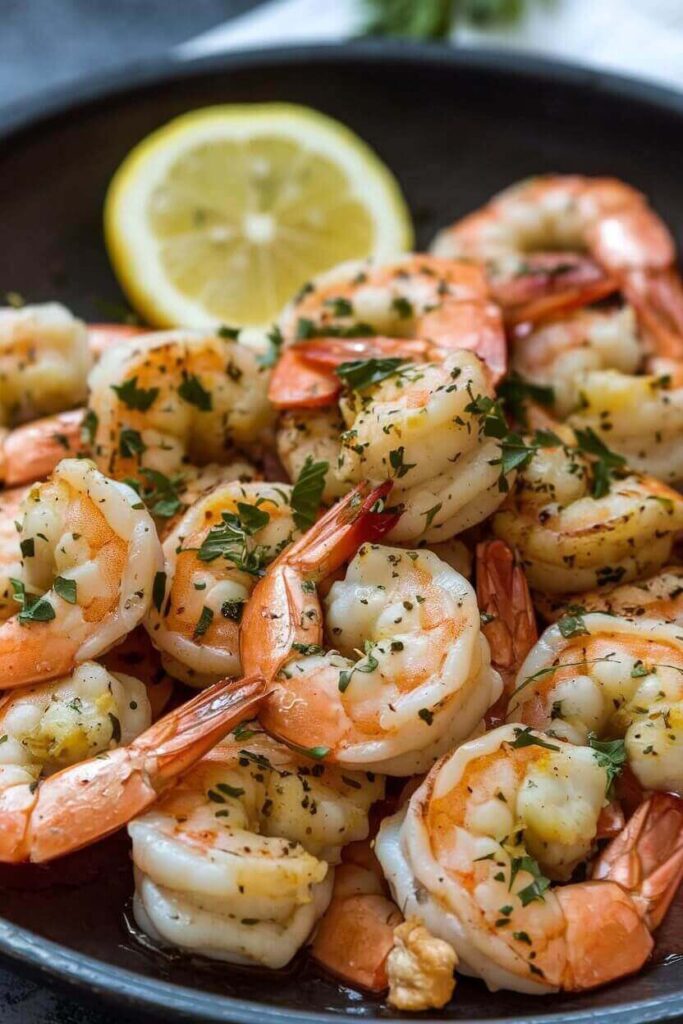
Imagine succulent shrimp bathed in a rich garlic butter sauce, ready to transport your taste buds to the seaside. This garlic butter shrimp recipe is the perfect blend of flavors – buttery, garlicky, and just a hint of spice. It’s quick to whip up and makes for an elegant dish that’s impressive enough for guests but easy enough for a weeknight dinner.

This dish is a seafood lover’s dream! The shrimp soak up all that delicious garlic and butter goodness, making every bite incredibly satisfying. Pair it with a side of crusty bread to soak up the sauce or serve it over a bed of fluffy rice for a complete meal.

The Best Garlic Butter Shrimp Recipe

These garlic butter shrimp are tender, juicy, and bursting with flavor. The combination of garlic, butter, and a squeeze of lemon elevates the dish, giving it a delightful richness that’s hard to resist.

Ingredients

  • 1 pound large shrimp, peeled and deveined
  • 4 tablespoons unsalted butter
  • 4 cloves garlic, minced
  • 1 teaspoon red pepper flakes (adjust to taste)
  • Salt and black pepper to taste
  • Juice of 1 lemon
  • Chopped parsley for garnish
  • Lemon wedges for serving

Instructions

  1. Prepare the Shrimp: If not already done, peel and devein the shrimp. Pat them dry with paper towels and season with salt and black pepper.
  2. Melt the Butter: In a large skillet, melt the butter over medium heat.
  3. Sauté Garlic: Add the minced garlic and red pepper flakes to the skillet. Sauté for about 1 minute, or until fragrant, being careful not to burn the garlic.
  4. Cook the Shrimp: Add the shrimp to the skillet in a single layer. Cook for about 2-3 minutes on one side until they turn pink and opaque, then flip and cook for an additional 2-3 minutes on the other side.
  5. Add Lemon Juice: Once the shrimp are cooked through, squeeze the lemon juice over the top and give everything a good toss to coat.
  6. Garnish and Serve: Remove from heat and garnish with chopped parsley. Serve immediately with lemon wedges on the side.

Cook and Prep Times

  • Prep Time: 10 minutes
  • Cook Time: 10 minutes
  • Total Time: 20 minutes

Nutrition Information

  • Servings: 4
  • Calories: 320kcal
  • Fat: 18g
  • Protein: 27g
  • Carbohydrates: 2g
February 12, 2025 0 comments
0 FacebookTwitterPinterestEmail
DinnerQuick & EasyRecipesSeafood

Savory Stuffed Seafood Bread Bowl

by donnyvicky February 12, 2025
written by donnyvicky

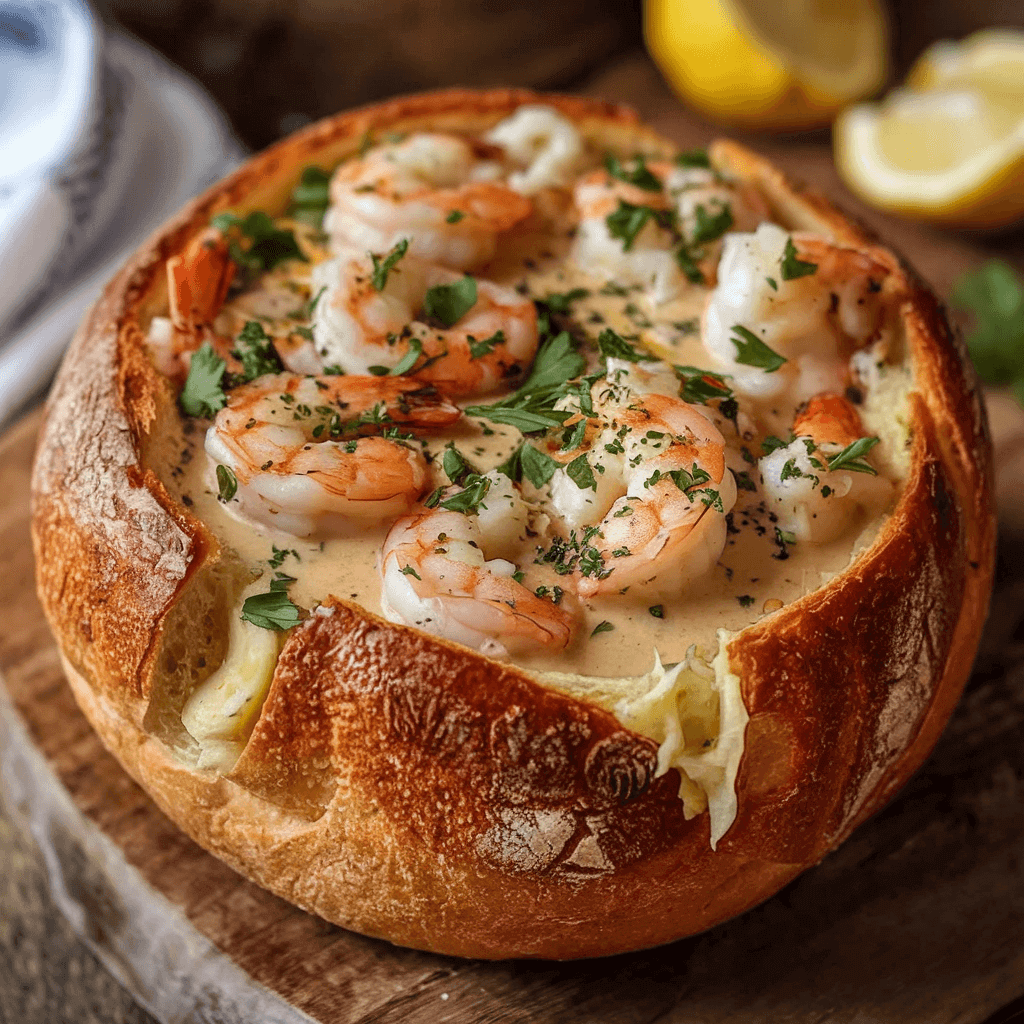
If you’re looking for a dish that combines the joy of seafood and the warmth of fresh bread, then this stuffed seafood bread bowl will delight your taste buds. It’s the perfect presentation for a gathering or a cozy dinner at home.

Imagine digging into a crispy bread bowl filled with a creamy, savory seafood filling. It’s not only a feast for the stomach but also for the eyes. Get ready to impress your family and friends with this delicious and elegant seafood dish.

Delicious Seafood-Stuffed Bread Bowl

This stuffed seafood bread bowl features a delightful mix of shrimp, crab, and creamy cheese, all nestled inside a warm, crusty bread shell. The combination of flavors is a savory seafood lover’s dream, balanced with the comforting taste of freshly baked bread.

Ingredients

  • 1 large round bread loaf (sourdough or other crusty bread)
  • 1 cup cooked shrimp, chopped
  • 1 cup lump crab meat
  • 1/2 cup cream cheese, softened
  • 1/2 cup mayonnaise
  • 1/2 cup shredded cheddar cheese
  • 1 tablespoon Dijon mustard
  • 1 tablespoon lemon juice
  • 1 teaspoon garlic powder
  • 1 teaspoon Old Bay seasoning
  • Salt and pepper to taste
  • Chopped fresh parsley for garnish

Instructions

  1. Prep the Bread Bowl: Preheat your oven to 350°F (175°C). Cut the top off the bread loaf and hollow out the inside, leaving about an inch of bread on the sides. Save the removed bread for dipping.
  2. Make the Seafood Filling: In a mixing bowl, combine the chopped shrimp, crab meat, cream cheese, mayonnaise, cheddar cheese, Dijon mustard, lemon juice, garlic powder, Old Bay seasoning, salt, and pepper. Mix until well combined.
  3. Fill the Bread Bowl: Spoon the seafood mixture into the hollowed-out bread bowl, packing it gently.
  4. Bake: Place the stuffed bread bowl on a baking sheet and bake in the preheated oven for 25-30 minutes, or until the filling is hot and bubbly and the bread is golden brown.
  5. Serve: Remove from the oven and let cool slightly. Garnish with chopped parsley and serve warm with the reserved bread pieces for dipping.

Cook and Prep Times

  • Prep Time: 15 minutes
  • Cook Time: 30 minutes
  • Total Time: 45 minutes

Nutrition Information

  • Servings: 4 servings
  • Calories: 450kcal
  • Fat: 30g
  • Protein: 25g
  • Carbohydrates: 30g
February 12, 2025 0 comments
0 FacebookTwitterPinterestEmail
Desserts & SweetsQuick & EasyRecipes

Decadent Chocolate Cake with Fresh Strawberry Filling

by donnyvicky February 12, 2025
written by donnyvicky

If you’re looking for a dessert that combines rich chocolate with the refreshing taste of strawberries, this chocolate cake with fresh strawberry filling is just what you need. It’s perfect for celebrations, gatherings, or simply to satisfy a sweet tooth. Plus, it’s surprisingly easy to make!

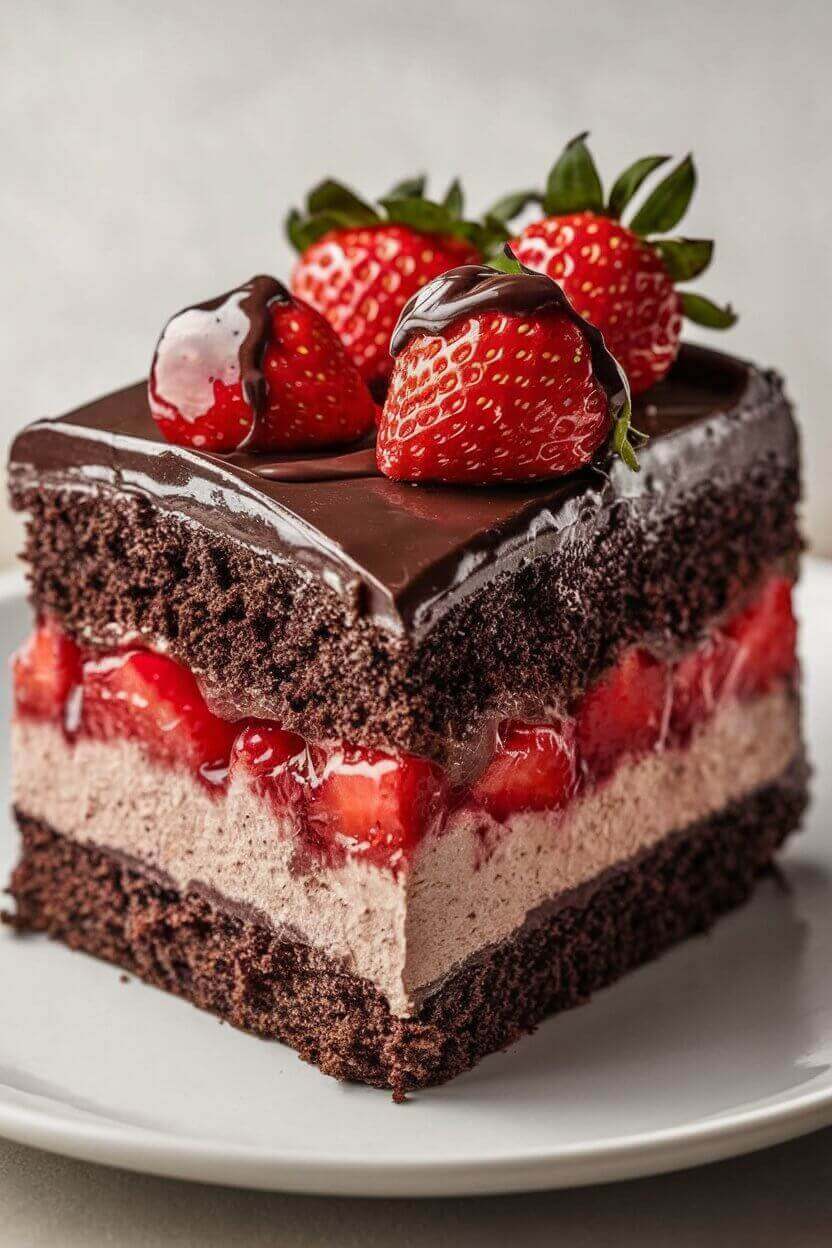
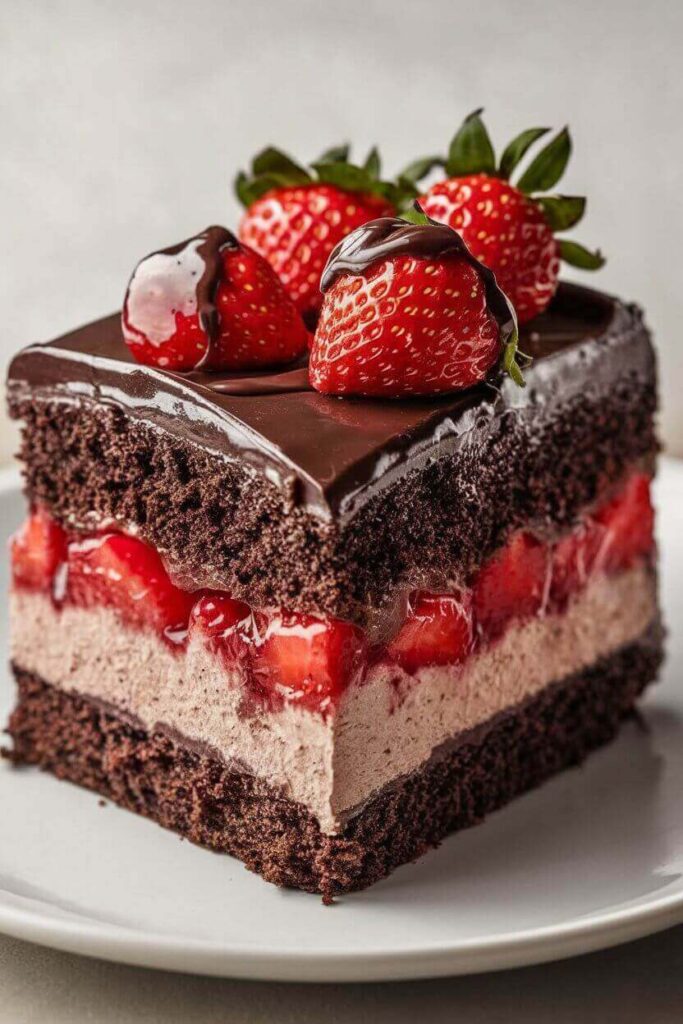
This cake is a true showstopper, featuring layers of moist chocolate sponge paired with a luscious strawberry filling that bursts with flavor. The contrast between the velvety chocolate and the bright, fruity filling makes each bite a delightful experience. Whether it’s a birthday, anniversary, or just a weekend treat, this cake is sure to impress.

Imagine serving this stunning dessert at your next gathering. The chocolate cake is not only beautiful but also incredibly delicious, making it a favorite for both kids and adults alike.

Irresistible Chocolate Cake with Strawberry Filling

This decadent chocolate cake is layered with fresh strawberry filling and frosted with rich chocolate ganache. It boasts a rich, moist texture with a balance of sweetness and a tangy burst from the strawberries, making it a delightful treat for any occasion.

Ingredients

  • 1 ¾ cups all-purpose flour
  • ¾ cup unsweetened cocoa powder
  • 2 cups granulated sugar
  • 1 ½ teaspoons baking powder
  • 1 ½ teaspoons baking soda
  • 1 teaspoon salt
  • 2 large eggs
  • 1 cup whole milk
  • ½ cup vegetable oil
  • 2 teaspoons vanilla extract
  • 1 cup boiling water
  • 2 cups fresh strawberries, hulled and sliced
  • 1 cup heavy whipping cream
  • ½ cup powdered sugar
  • 8 oz semi-sweet chocolate, chopped
  • 1 cup heavy cream (for ganache)

Instructions

  1. Preheat the Oven: Preheat your oven to 350°F (175°C). Grease and flour two 9-inch round cake pans.
  2. Mix Dry Ingredients: In a large mixing bowl, combine the flour, cocoa powder, sugar, baking powder, baking soda, and salt.
  3. Add Wet Ingredients: Add the eggs, milk, vegetable oil, and vanilla extract. Mix on medium speed for 2 minutes. Stir in the boiling water until well combined.
  4. Bake: Divide the batter evenly between the prepared pans and bake for 30-35 minutes, or until a toothpick inserted in the center comes out clean. Allow to cool in the pans for 10 minutes, then remove from pans to cool completely on wire racks.
  5. Prepare Strawberry Filling: In a mixing bowl, whip the cream until soft peaks form. Gradually add powdered sugar and continue to whip until stiff peaks form. Gently fold in the sliced strawberries.
  6. Make Ganache: In a small saucepan, heat 1 cup of heavy cream until it just begins to simmer. Pour over the chopped chocolate in a bowl and let sit for 5 minutes. Stir until smooth and glossy.
  7. Assemble the Cake: Place one chocolate cake layer on a serving plate. Spread the strawberry filling on top, then place the second layer on top. Pour the ganache over the top, letting it drip down the sides.
  8. Serve: Slice and enjoy this delightful chocolate cake with fresh strawberry filling!

Cook and Prep Times

  • Prep Time: 30 minutes
  • Cook Time: 35 minutes
  • Total Time: 1 hour 5 minutes

Nutrition Information

  • Servings: 12 slices
  • Calories: 350kcal
  • Fat: 20g
  • Protein: 5g
  • Carbohydrates: 41g
February 12, 2025 0 comments
0 FacebookTwitterPinterestEmail
Newer Posts
Older Posts

Recent Posts

  • Delicious Peanut Butter and Jelly Oatmeal for Kids
  • Nutty Banana Protein Smoothie
  • Savory and Sweet Homemade McGriddle Recipe
  • Keto-Friendly Avocado and Smoked Salmon Breakfast Bowl
  • Deliciously Stuffed French Toast Recipe

Keep in touch

Facebook Twitter Instagram Pinterest Youtube

Popular Recipes

  • 1

    Sweet and Creamy Brown Sugar Vanilla Iced Coffee

    February 6, 2025
  • 2

    Refreshing Whipped Pink Lemonade Recipe

    February 18, 2025
  • 3

    Refreshing Strawberry Tequila Sunrise Recipe

    February 18, 2025
  • 4

    Enchanting Sleeping Beauty Cocktail Recipe

    February 18, 2025
  • 5

    Refreshing Tropical Passion Fruit Smoothie Recipe

    February 18, 2025
  • 6

    Nutty Banana Protein Smoothie

    February 22, 2025

Recent Posts

  • Delicious Peanut Butter and Jelly Oatmeal for Kids

    February 22, 2025
  • Nutty Banana Protein Smoothie

    February 22, 2025
  • Savory and Sweet Homemade McGriddle Recipe

    February 22, 2025

On Pinterest

Categories

  • Breakfast & Brunch (57)
  • Cocktails & Spirits (8)
  • Coffee, Tea & Hot Beverages (12)
  • Desserts & Sweets (61)
  • Dinner (147)
  • Drinks (47)
  • Meat Lovers (95)
  • Non-Alcoholic & Mocktails (17)
  • Quick & Easy (288)
  • Recipes (296)
  • Seafood (27)
  • Smoothies & Shakes (13)
  • Uncategorized (1)
  • Vegan (36)
  • Vegetarians (73)
  • About me
  • Contact Me
  • Privacy Policy
  • Disclaimer
  • Terms of Service
  • Facebook
  • Twitter

@2021 - All Right Reserved. Designed and Developed by PenciDesign


Back To Top
Healthful Plate
  • Home
  • Recipes
    • Vegan
    • Vegetarians
    • Meat Lovers
    • Seafood
    • Desserts & Sweets
    • Breakfast & Brunch
    • Dinner
    • Quick & Easy
  • Drinks
    • Cocktails & Spirits
    • Coffee, Tea & Hot Beverages
    • Non-Alcoholic & Mocktails
    • Smoothies & Shakes
  • Lifestyle
    • Editor’s Pick
    • Kitchen Gadgets