• Home
  • Recipes
    • Vegan
    • Vegetarians
    • Meat Lovers
    • Seafood
    • Desserts & Sweets
    • Breakfast & Brunch
    • Dinner
    • Quick & Easy
  • Drinks
    • Cocktails & Spirits
    • Coffee, Tea & Hot Beverages
    • Non-Alcoholic & Mocktails
    • Smoothies & Shakes
  • Lifestyle
    • Editor’s Pick
    • Kitchen Gadgets
Healthful Plate
keep your memories alive
Breakfast & BrunchDesserts & SweetsDrinksQuick & EasyRecipesSmoothies & Shakes

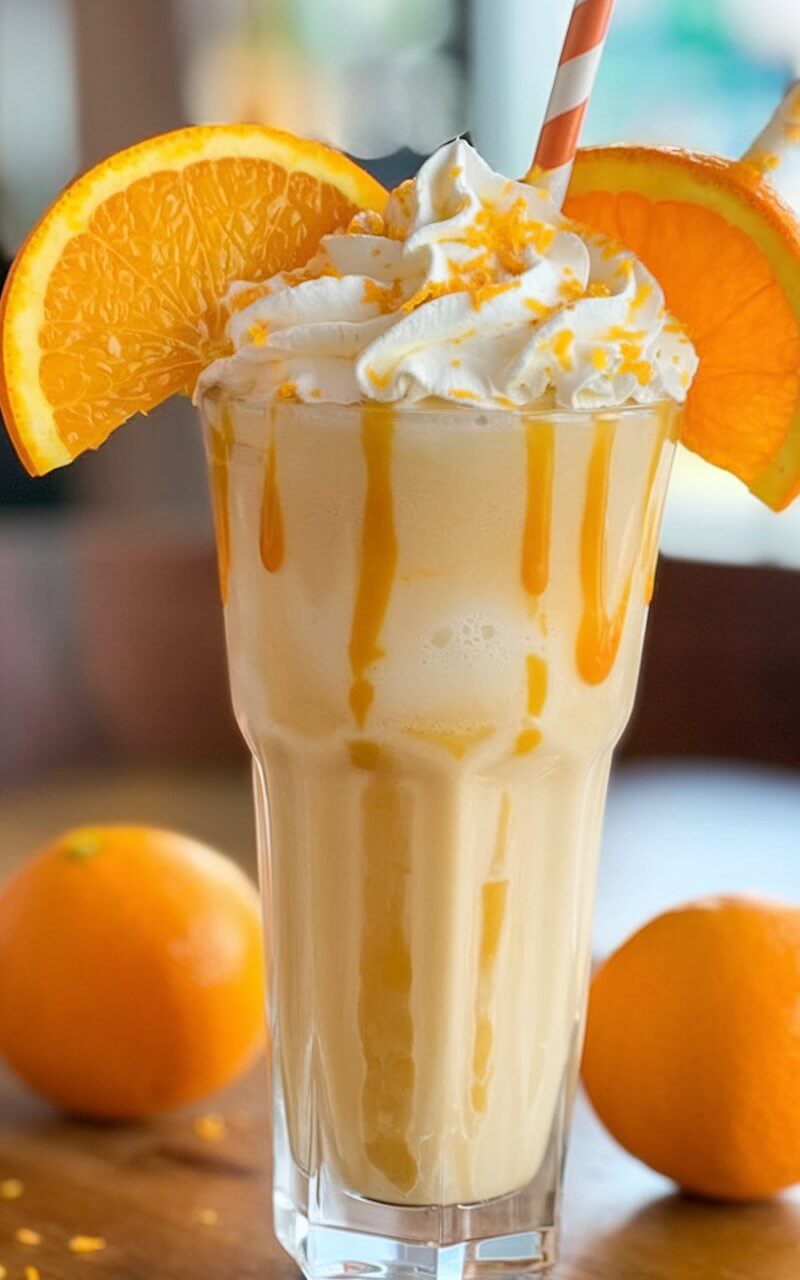
Refreshing Orange Creamsicle Milkshake Recipe

by donnyvicky February 12, 2025
written by donnyvicky

Craving a sweet, nostalgic treat that takes you back to childhood? This Orange Creamsicle Milkshake is a delightful blend that perfectly captures the essence of summer. Imagine sipping on this creamy concoction while reminiscing about sunny days and ice cream trucks rolling by.

With its bright orange hue and luscious creamy texture, this milkshake is not just a drink—it’s a mini-vacation in a glass. Whether you want to cool off on a hot day or treat yourself after a long week, this milkshake is sure to satisfy your sweet tooth and lift your spirits.

The Ultimate Orange Creamsicle Milkshake
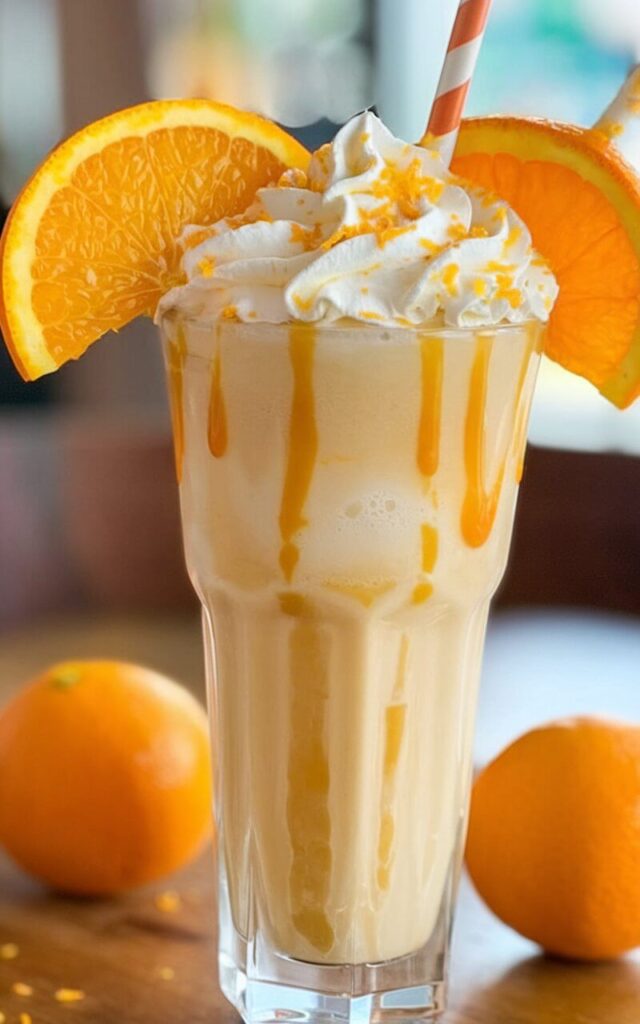
This milkshake combines the zesty flavor of fresh oranges with the creaminess of vanilla ice cream, creating a refreshing beverage that is both sweet and tangy. Every sip is bursting with sunshine and nostalgia, making it a perfect indulgence for any occasion.

Ingredients

  • 2 cups vanilla ice cream
  • 1 cup orange juice (freshly squeezed is best)
  • 1/2 cup milk
  • 1 teaspoon vanilla extract
  • Whipped cream for topping
  • Orange slices for garnish (optional)

Instructions

  1. Blend Ingredients: In a blender, combine the vanilla ice cream, orange juice, milk, and vanilla extract. Blend until smooth and creamy.
  2. Adjust Consistency: If the milkshake is too thick, add a little more milk until you reach your desired consistency.
  3. Serve: Pour the milkshake into tall glasses. Top with whipped cream and garnish with orange slices if desired.
  4. Enjoy: Serve immediately with a straw and enjoy the refreshing taste of summer.

Cook and Prep Times

  • Prep Time: 5 minutes
  • Total Time: 5 minutes

Nutrition Information

  • Servings: 2
  • Calories: 450kcal
  • Fat: 18g
  • Protein: 8g
  • Carbohydrates: 65g
February 12, 2025 0 comments
0 FacebookTwitterPinterestEmail
Desserts & SweetsQuick & EasyRecipes

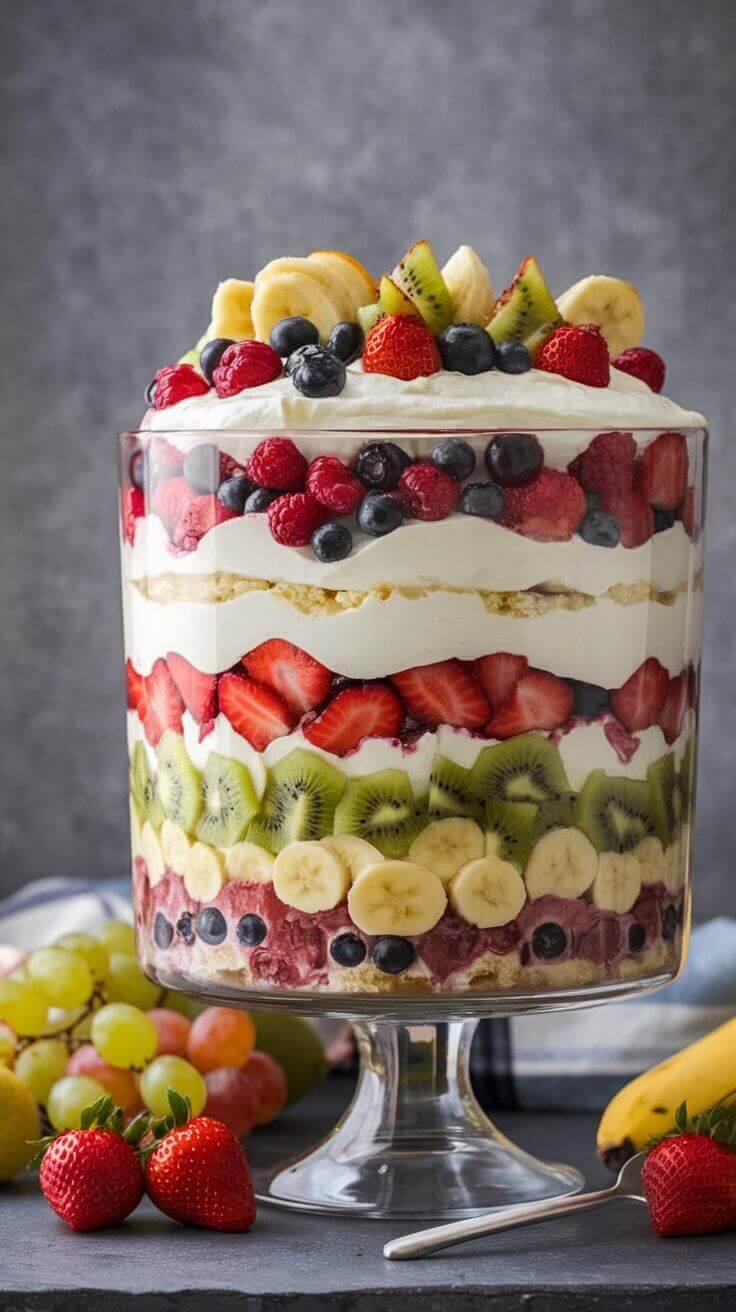
Delicious Layered Fruits Trifle Recipe

by donnyvicky February 12, 2025
written by donnyvicky

Looking for a dessert that’s not just sweet but also visually stunning? This delicious layered fruits trifle is the perfect solution! With its vibrant colors and delightful textures, it’s a feast for both the eyes and the taste buds. Whether you’re hosting a gathering or just satisfying your sweet tooth, this trifle is bound to impress.

Imagine a delightful blend of fresh fruits, creamy custard, and light whipped cream, all layered beautifully in a glass dish. This recipe is versatile, allowing you to use your favorite fruits while creating a refreshing treat that’s perfect for any occasion.

Easy and Colorful Fruits Trifle

This layered fruits trifle combines the sweetness of ripe fruits with the creaminess of custard and whipped cream. Each spoonful is a burst of flavor, featuring a harmonious mix of textures that will leave you craving more. It’s a delightful dessert that feels indulgent yet light.

Ingredients

  • 2 cups mixed fresh fruits (strawberries, blueberries, kiwi, and bananas)
  • 1 cup vanilla custard (store-bought or homemade)
  • 2 cups whipped cream
  • 1 cup sponge cake or ladyfingers, cut into pieces
  • Mint leaves for garnish (optional)

Instructions

  1. Prepare the Fruits: Wash and slice the mixed fruits into bite-sized pieces.
  2. Layer the Ingredients: In a large glass dish or individual cups, start with a layer of sponge cake pieces, followed by a layer of custard, then a layer of mixed fruits, and finally a layer of whipped cream.
  3. Repeat Layers: Continue layering until the dish is filled, ending with a generous layer of whipped cream on top.
  4. Garnish: Top the trifle with extra fruit pieces and mint leaves for a lovely presentation.
  5. Chill: Refrigerate the trifle for at least 1 hour before serving to allow the flavors to meld.

Cook and Prep Times

  • Prep Time: 20 minutes
  • Chill Time: 1 hour
  • Total Time: 1 hour 20 minutes

Nutrition Information

  • Servings: 4-6 servings
  • Calories: 250kcal
  • Fat: 10g
  • Protein: 4g
  • Carbohydrates: 38g
February 12, 2025 0 comments
0 FacebookTwitterPinterestEmail
Desserts & SweetsQuick & EasyRecipes

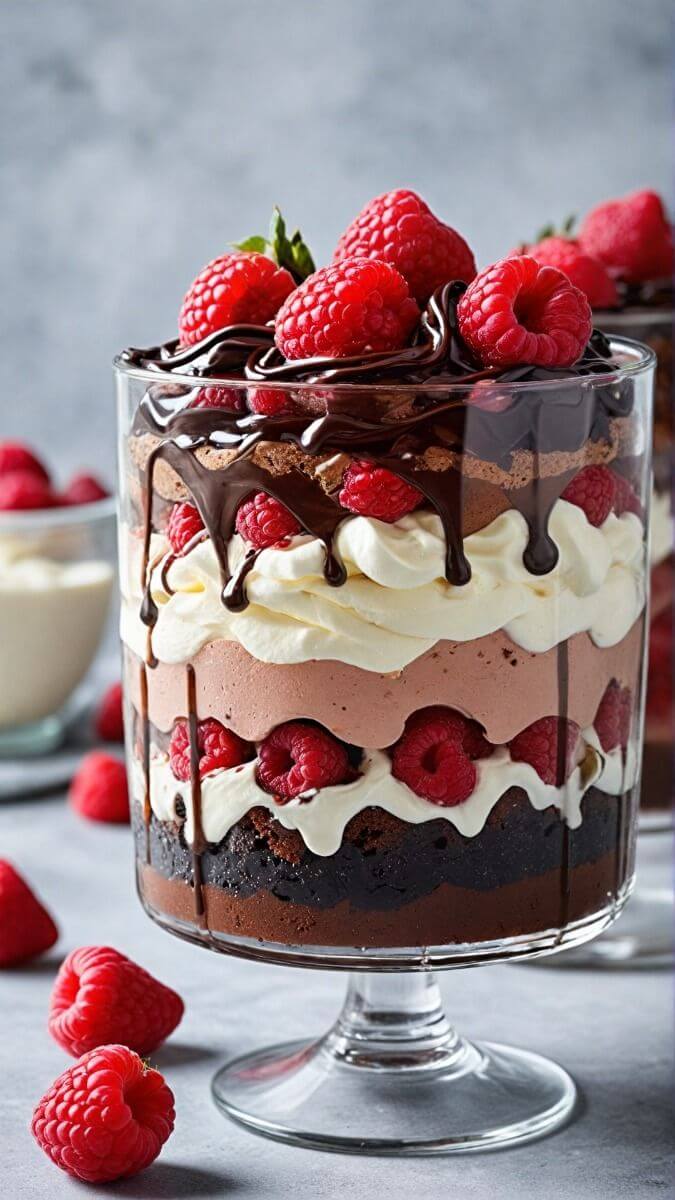
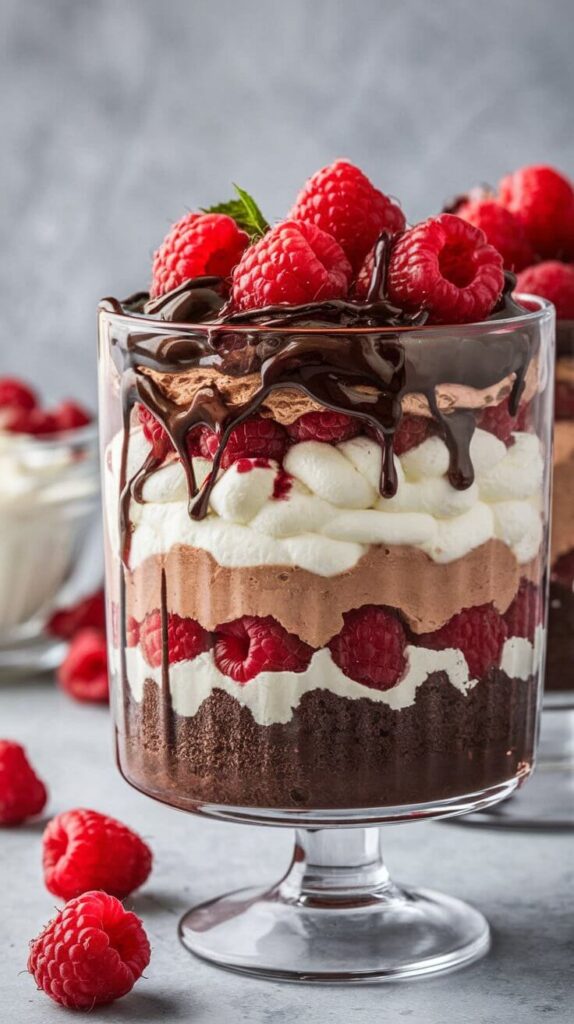
Decadent Raspberry Fudge Brownie Trifle

by donnyvicky February 12, 2025
written by donnyvicky

If you’re looking for a dessert that combines rich chocolate with the tangy sweetness of raspberries, this raspberry fudge brownie trifle is a must-try. It’s perfect for impressing guests or treating yourself to something special. Layers of fudgy brownies, luscious raspberry filling, and creamy whipped topping create a delightful experience with every spoonful.

This trifle is not just a feast for the eyes, it’s a celebration of flavors and textures. Imagine sinking your fork into soft brownie layers that melt in your mouth, contrasted by the bright burst of fresh raspberries. It’s a symphony of taste that will leave you craving more.

Whether it’s a festive occasion or a casual get-together, this dessert will steal the spotlight. Easy to assemble and visually stunning, it’s sure to be the highlight of any dessert table.

The Ultimate Raspberry Fudge Brownie Trifle

This raspberry fudge brownie trifle features layers of rich, fudgy brownies, fresh raspberries, and a light, fluffy whipped cream topping. It’s a delightful combination of sweet and tart that balances beautifully, resulting in a dessert that’s both indulgent and refreshing.

Ingredients

  • 1 batch of homemade or store-bought fudge brownies, cut into squares
  • 2 cups fresh raspberries, plus extra for garnish
  • 1 cup heavy cream
  • 1/4 cup powdered sugar
  • 1 teaspoon vanilla extract
  • Chocolate shavings or cocoa powder for garnish (optional)

Instructions

  1. Prepare the Brownies: If using homemade brownies, bake and cool them according to the recipe. Cut them into bite-sized squares.
  2. Make the Whipped Cream: In a mixing bowl, beat the heavy cream, powdered sugar, and vanilla extract until soft peaks form.
  3. Assemble the Trifle: In a large trifle dish or individual cups, layer brownie squares, fresh raspberries, and whipped cream. Repeat the layers until all ingredients are used, finishing with a layer of whipped cream on top.
  4. Garnish: Top the trifle with additional raspberries and chocolate shavings or a dusting of cocoa powder, if desired.
  5. Chill and Serve: Refrigerate the trifle for at least 1 hour before serving to set. Serve chilled and enjoy the layers of flavor!

Cook and Prep Times

  • Prep Time: 20 minutes
  • Assemble Time: 10 minutes
  • Total Time: 30 minutes plus chilling time

Nutrition Information

  • Servings: 6 servings
  • Calories: 350kcal
  • Fat: 20g
  • Protein: 4g
  • Carbohydrates: 40g

February 12, 2025 0 comments
0 FacebookTwitterPinterestEmail
Desserts & SweetsQuick & EasyRecipes

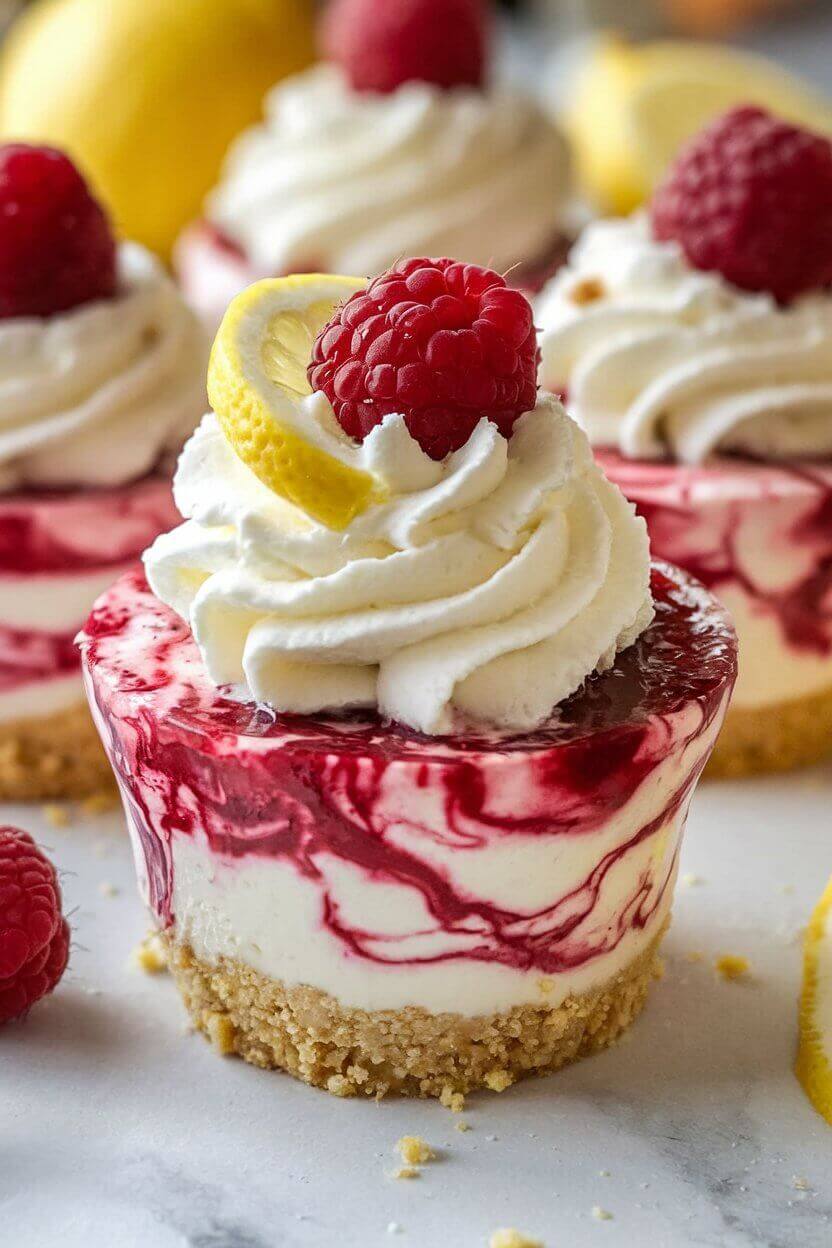
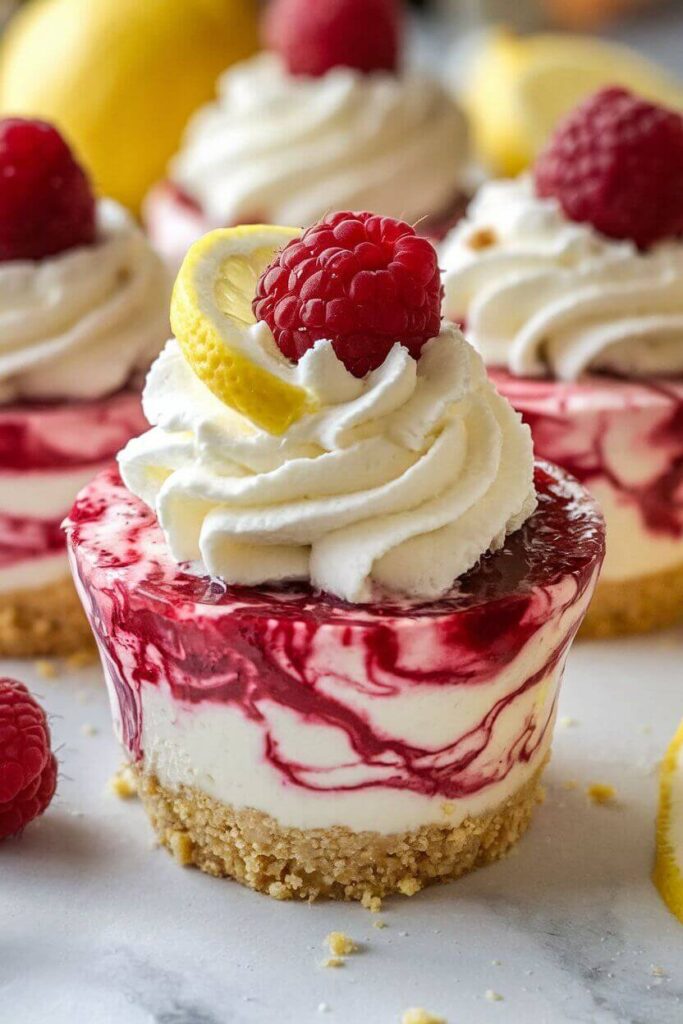
Lemon Raspberry Swirl Cheesecake Cups

by donnyvicky February 12, 2025
written by donnyvicky

If you’re a fan of bright, tangy flavors paired with sweet, creamy textures, these Lemon Raspberry Swirl Cheesecake Cups are for you! They’re not just a dessert; they’re a delightful explosion of taste that will brighten your day and impress your guests. Perfect for warm weather gatherings or just a special treat at home, these cups are as beautiful as they are delicious.

Imagine a luscious cheesecake filling that melts in your mouth, combined with a vibrant raspberry swirl that adds a pop of color and flavor. These cheesecake cups are easy to make and can be prepped in advance, making them a go-to dessert for any occasion. Plus, their individual servings make them perfect for sharing!

Delightful Lemon Raspberry Cheesecake Cups

These cheesecake cups feature a rich and creamy cheesecake base infused with fresh lemon juice and zest, giving them a refreshing lift. The raspberry swirl not only adds a beautiful design but also a burst of fruity sweetness that perfectly complements the tangy lemon flavor.

Ingredients

  • 1 cup graham cracker crumbs
  • 1/4 cup unsalted butter, melted
  • 2 cups cream cheese, softened
  • 1/2 cup granulated sugar
  • 1/2 cup sour cream
  • 1 teaspoon vanilla extract
  • 2 large eggs
  • Zest and juice of 1 lemon
  • 1 cup fresh raspberries
  • 2 tablespoons powdered sugar
  • Fresh raspberries and lemon slices for garnish

Instructions

  1. Prepare the Crust: Preheat the oven to 325°F (160°C). In a bowl, combine the graham cracker crumbs and melted butter. Press the mixture into the bottom of serving cups to form a crust.
  2. Mix the Cheesecake Filling: In a large mixing bowl, beat the cream cheese and granulated sugar until smooth. Add in sour cream, vanilla extract, eggs, lemon zest, and lemon juice. Mix until well combined.
  3. Make the Raspberry Swirl: In a separate bowl, mash the raspberries with powdered sugar until smooth. You can strain the mixture for a smoother texture if desired.
  4. Assemble the Cups: Pour the cheesecake mixture into the prepared cups, filling them about 3/4 full. Drop spoonfuls of the raspberry mixture on top, then use a toothpick or skewer to gently swirl the raspberry into the cheesecake.
  5. Bake: Place the cups in a baking dish and add hot water to the dish to create a water bath. Bake for 20-25 minutes, or until the edges are set but the centers are slightly jiggly. Turn off the oven and leave the cheesecake cups inside for 1 hour to cool gradually.
  6. Chill: Remove the cups from the water bath and let them cool to room temperature. Refrigerate for at least 4 hours or overnight to set.
  7. Serve: Top with fresh raspberries and lemon slices before serving. Enjoy your delightful treats!

Cook and Prep Times

  • Prep Time: 25 minutes
  • Cook Time: 25 minutes
  • Chill Time: 4 hours
  • Total Time: 4 hours 50 minutes

Nutrition Information

  • Servings: 6 cups
  • Calories: 320kcal
  • Fat: 21g
  • Protein: 5g
  • Carbohydrates: 30g
February 12, 2025 0 comments
0 FacebookTwitterPinterestEmail
Desserts & SweetsQuick & EasyRecipes

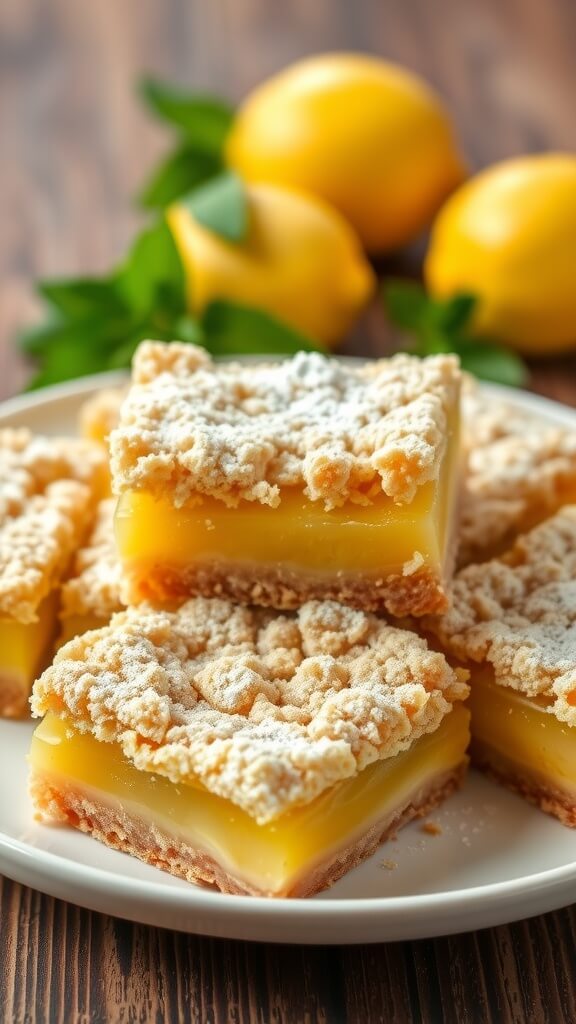
Tangy Lemon Crumb Bars Recipe

by donnyvicky February 12, 2025
written by donnyvicky

If you’re looking for a dessert that combines a zesty flavor with a buttery crumbly texture, these lemon crumb bars are the perfect match. They are light, refreshing, and packed with lemony goodness, making them an ideal treat for warm days or as a delightful end to any meal.

Imagine biting into a sweet and tangy lemon layer, perfectly nestled between a buttery, crumbly crust and topping. These bars not only satisfy your sweet tooth but also leave a refreshing burst of citrus on your palate. Whether you’re hosting a gathering or just enjoying a quiet afternoon, these lemon crumb bars will surely brighten your day.

Deliciously Tangy Lemon Crumb Bars

These lemon crumb bars feature a rich buttery crust and a creamy lemon filling, topped with a crunchy crumble. They strike the perfect balance between sweetness and tartness, providing a refreshing flavor that lingers delightfully in your mouth.

Ingredients

  • 1 ¾ cups all-purpose flour
  • ½ cup granulated sugar
  • ½ cup unsalted butter, softened
  • 1 teaspoon baking powder
  • ¼ teaspoon salt
  • 2 large eggs
  • 1 cup granulated sugar (for lemon filling)
  • 2 tablespoons all-purpose flour (for lemon filling)
  • ½ cup freshly squeezed lemon juice
  • Zest of 1 lemon
  • Powdered sugar for dusting (optional)

Instructions

  1. Preheat the Oven: Preheat your oven to 350°F (175°C) and grease an 8×8-inch baking pan.
  2. Make the Crust: In a bowl, combine 1 ¾ cups flour, ½ cup sugar, baking powder, and salt. Add the softened butter and mix until crumbly. Press the mixture into the bottom of the prepared pan and bake for 15 minutes.
  3. Prepare the Lemon Filling: In another bowl, whisk together the eggs, 1 cup sugar, 2 tablespoons flour, lemon juice, and lemon zest until smooth.
  4. Combine and Bake: Pour the lemon filling over the baked crust and return to the oven. Bake for an additional 20-25 minutes, or until the filling is set.
  5. Cool and Serve: Allow the bars to cool completely in the pan. Dust with powdered sugar before cutting into squares and serving.

Cook and Prep Times

  • Prep Time: 15 minutes
  • Cook Time: 40 minutes
  • Total Time: 55 minutes

Nutrition Information

  • Servings: 16 bars
  • Calories: 150kcal
  • Fat: 7g
  • Protein: 2g
  • Carbohydrates: 22g
February 12, 2025 0 comments
0 FacebookTwitterPinterestEmail
DrinksNon-Alcoholic & MocktailsQuick & EasyRecipes

Enchanting Love Potion Valentine’s Day Drink Recipe

by donnyvicky February 11, 2025
written by donnyvicky

Looking to impress someone special this Valentine’s Day? This enchanting Love Potion drink is just what you need to set the mood. With its vibrant colors and sweet, fruity flavors, it’s sure to make hearts flutter and create a romantic atmosphere. Whether you’re celebrating with a partner or hosting a gathering with friends, this drink will add a touch of magic to your occasion.

Imagine sharing a toast with a beautifully crafted drink that sparkles with love. The combination of fresh fruits, fizzy elements, and a hint of floral essence creates a delightful experience. Not only does it look stunning, but the taste is equally captivating, making it the perfect drink to celebrate love.

The Perfect Love Potion Drink for Your Valentine’s Celebration

This Love Potion drink is a refreshing mix of sparkling fruit juices and a splash of grenadine, resulting in a sweet and fizzy beverage that dances on your palate. With hints of berry and citrus, it’s both light and bubbly, making it an ideal choice for a festive celebration.

Ingredients

  • 1 cup sparkling water or lemon-lime soda
  • 1/2 cup cranberry juice
  • 1/2 cup orange juice
  • 2 tablespoons grenadine syrup
  • Fresh fruit slices (strawberries, oranges, or raspberries) for garnish
  • Mint leaves for garnish

Instructions

  1. Prepare the Glasses: Chill your glasses in the freezer for about 10 minutes to create a frosty effect.
  2. Mix the Juices: In a large pitcher, combine the cranberry juice and orange juice. Stir gently to blend the flavors.
  3. Add the Sparkle: Slowly pour in the sparkling water or lemon-lime soda, being careful not to lose the fizz.
  4. Create the Potion: Drizzle the grenadine syrup into the drink, allowing it to settle at the bottom for a beautiful ombre effect.
  5. Garnish: Add fresh fruit slices and mint leaves to the glasses for a pop of color and freshness.
  6. Serve: Pour the love potion into the chilled glasses and enjoy the enchanting experience with your loved ones!

Cook and Prep Times

  • Prep Time: 10 minutes
  • Total Time: 10 minutes

Nutrition Information

  • Servings: 4
  • Calories: 80kcal
  • Fat: 0g
  • Protein: 0g
  • Carbohydrates: 21g
February 11, 2025 0 comments
0 FacebookTwitterPinterestEmail
DrinksNon-Alcoholic & MocktailsQuick & Easy

Refreshing Strawberry Lime Mocktail Margarita

by donnyvicky February 11, 2025
written by donnyvicky

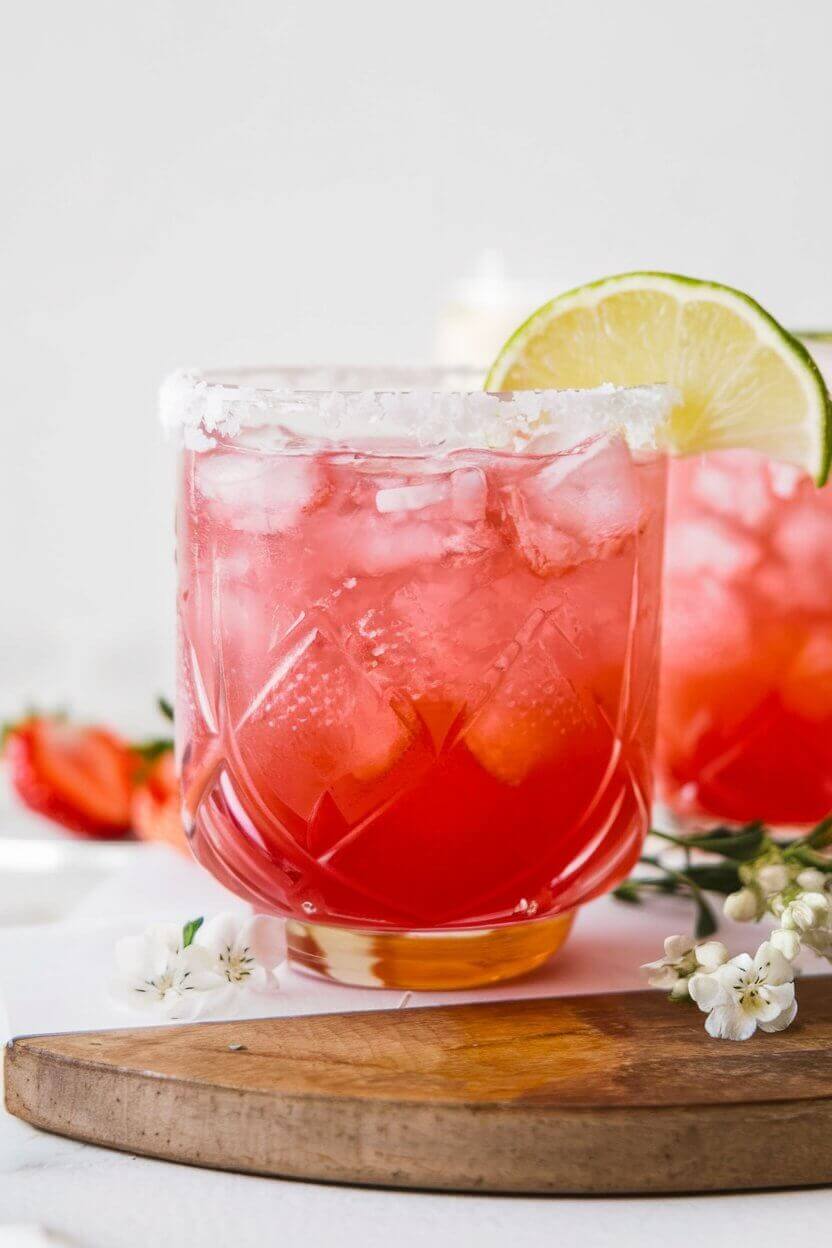
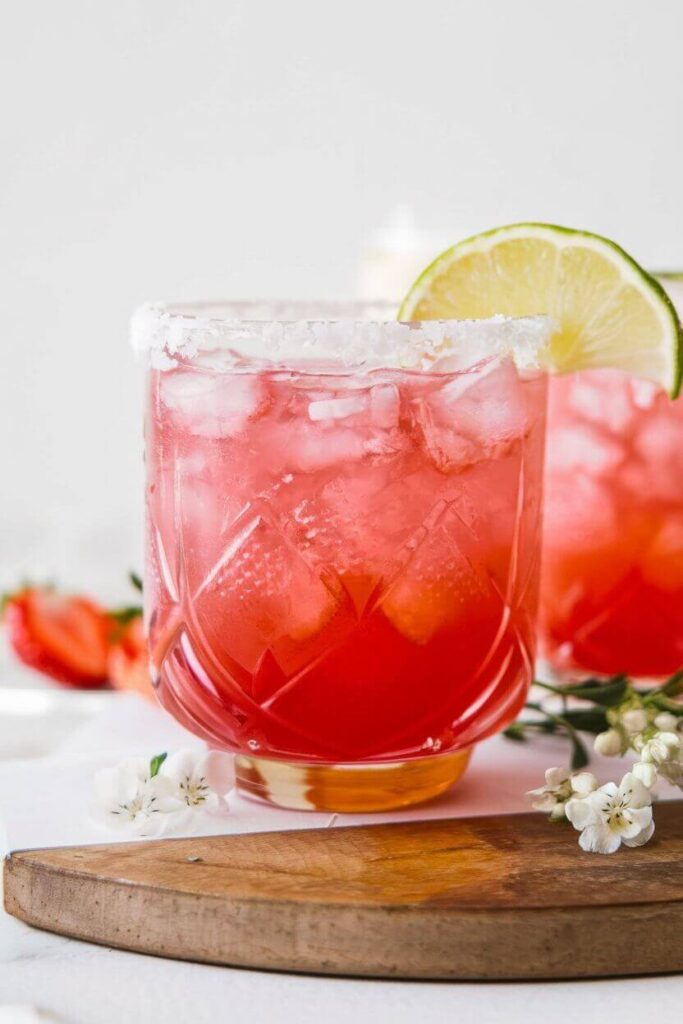
Looking for a vibrant drink that captures the essence of summer? The Strawberry Lime Mocktail Margarita is a delightful blend of sweet strawberries and zesty lime that will tickle your taste buds while keeping things refreshingly light. Perfect for any occasion, this mocktail is your go-to choice for gatherings, picnics, or a relaxing afternoon in the sun.

This mocktail is not just visually stunning, but it’s also incredibly easy to make! You can whip it up in just a few minutes and impress your friends with its bright color and invigorating flavor. Plus, it’s an excellent option for those who prefer to skip the alcohol without sacrificing taste.

Ingredients

  • 1 cup fresh strawberries, hulled and sliced
  • 1/4 cup fresh lime juice
  • 2 tablespoons agave syrup (adjust to taste)
  • 1 cup sparkling water or club soda
  • Ice cubes
  • Lime wedges and strawberry slices for garnish
  • Salt or sugar for rimming the glasses (optional)

Instructions

  1. Prepare the Glasses: If desired, rim the glasses with lime juice and dip them in salt or sugar. Set aside.
  2. Blend the Strawberries: In a blender, combine the sliced strawberries, fresh lime juice, and agave syrup. Blend until smooth.
  3. Strain: If you prefer a smoother texture, strain the mixture through a fine-mesh sieve to remove seeds and pulp.
  4. Mix: In a pitcher, combine the strawberry-lime mixture with sparkling water or club soda. Stir gently to combine.
  5. Serve: Fill the prepared glasses with ice cubes and pour the mocktail over. Garnish with lime wedges and strawberry slices. Serve immediately and enjoy!

Cook and Prep Times

  • Prep Time: 10 minutes
  • Total Time: 10 minutes

Nutrition Information

  • Servings: 2 servings
  • Calories: 80 kcal
  • Fat: 0g
  • Protein: 0g
  • Carbohydrates: 21g
February 11, 2025 0 comments
0 FacebookTwitterPinterestEmail
DinnerMeat LoversQuick & EasyRecipes

Spicy Cajun Sausage and Rice Skillet Recipe

by donnyvicky February 11, 2025
written by donnyvicky

Looking for a quick and satisfying meal that’s packed with flavor? This spicy Cajun sausage and rice skillet is just what you need! It’s a one-pan wonder that brings together smoky sausage, seasoned rice, and a medley of vegetables for a dish that feels both hearty and comforting.

This recipe is perfect for weeknight dinners when you want something delicious without spending hours in the kitchen. With just a few ingredients and minimal prep, you can have a meal that will impress your family and friends. Plus, the bold Cajun spices will tantalize your taste buds and keep you coming back for more.

Quick and Flavorful Cajun Sausage and Rice Skillet

This dish features juicy sausage, fluffy rice, and a blend of Cajun spices that create a savory and spicy flavor profile. It’s a satisfying, well-rounded meal that’s ready in about 30 minutes, making it perfect for busy evenings.

Ingredients

  • 1 pound Cajun sausage, sliced
  • 1 cup long-grain rice, uncooked
  • 1 medium onion, chopped
  • 1 bell pepper, diced
  • 2 cloves garlic, minced
  • 2 cups chicken broth
  • 1 can diced tomatoes with green chilies (14.5 oz)
  • 1 teaspoon Cajun seasoning
  • 1/2 teaspoon paprika
  • Salt and pepper to taste
  • 2 tablespoons olive oil
  • Chopped green onions for garnish (optional)

Instructions

  1. Heat the olive oil in a large skillet over medium heat. Add the sliced Cajun sausage and cook until browned on both sides, about 5-7 minutes.
  2. Add the chopped onion, bell pepper, and minced garlic to the skillet. Sauté until the vegetables are softened, about 3-4 minutes.
  3. Stir in the rice and cook for 1-2 minutes, allowing it to absorb the flavors.
  4. Pour in the chicken broth and canned tomatoes, add the Cajun seasoning, paprika, salt, and pepper. Bring the mixture to a boil.
  5. Reduce the heat to low, cover the skillet, and simmer for 20 minutes or until the rice is cooked and has absorbed the liquid.
  6. Remove from heat and let it sit for 5 minutes before fluffing the rice with a fork. Garnish with chopped green onions if desired.

Cook and Prep Times

  • Prep Time: 10 minutes
  • Cook Time: 20 minutes
  • Total Time: 30 minutes

Nutrition Information

  • Servings: 4 servings
  • Calories: 450kcal
  • Fat: 22g
  • Protein: 20g
  • Carbohydrates: 40g
February 11, 2025 0 comments
0 FacebookTwitterPinterestEmail
Desserts & SweetsDrinksQuick & EasyRecipesSmoothies & Shakes

Decadent Oreo Milkshake Recipe with Just 3 Ingredients

by donnyvicky February 11, 2025
written by donnyvicky

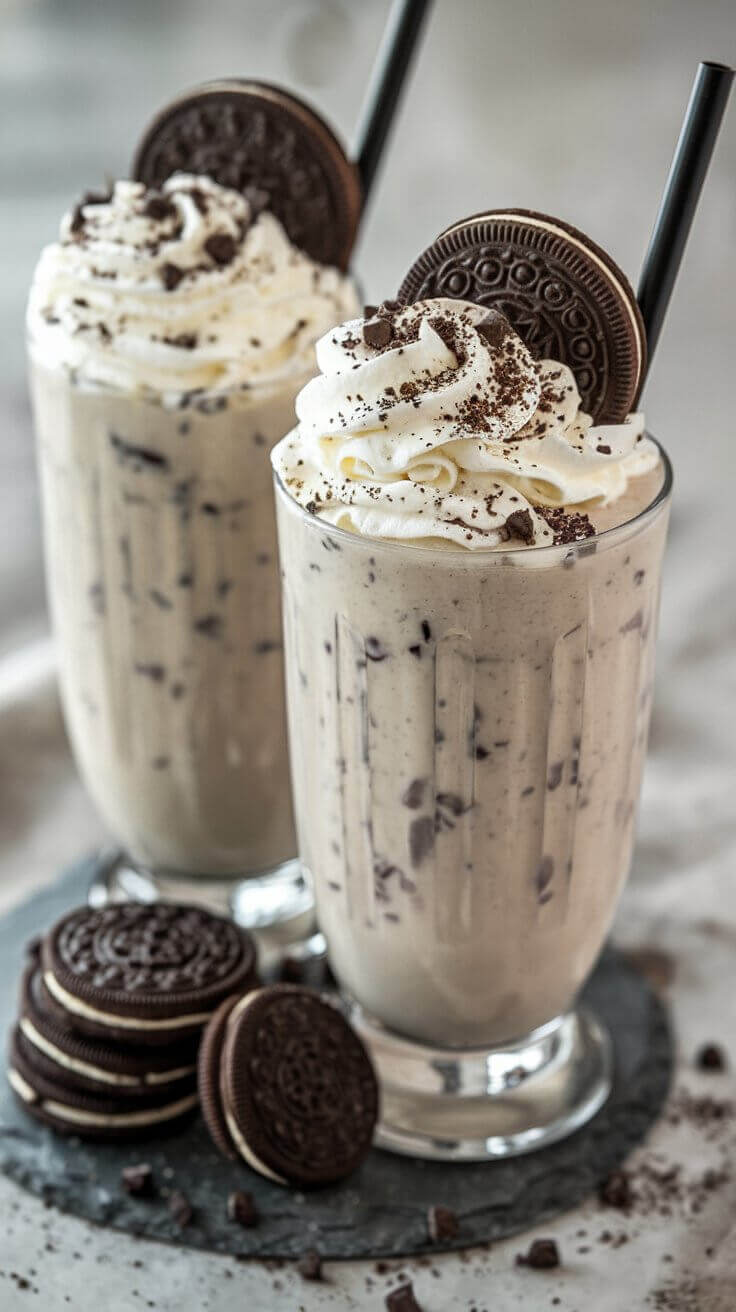
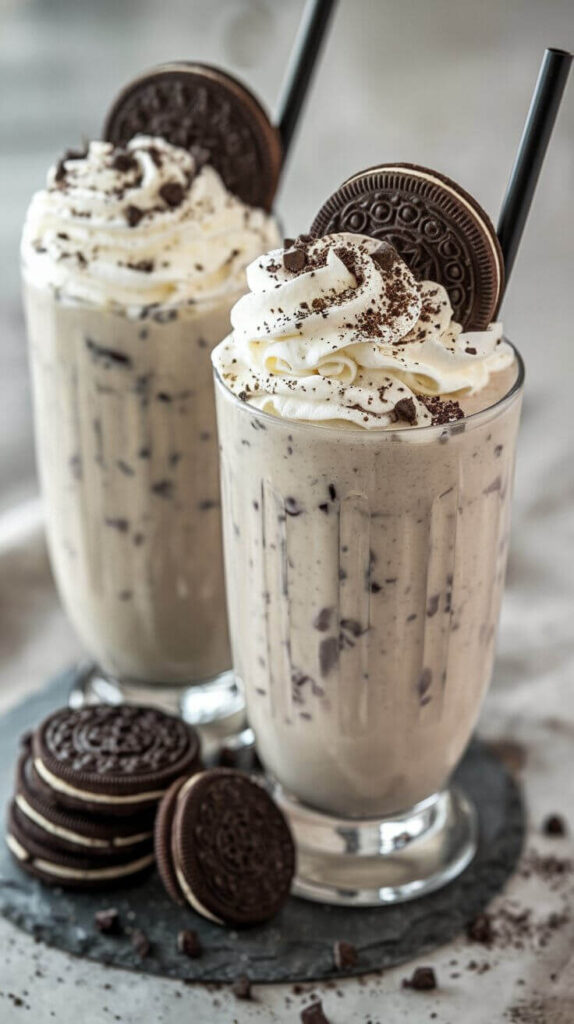
Craving a sweet treat that’s quick and easy to whip up? This Oreo milkshake fits the bill perfectly! With just three simple ingredients, you can create a creamy, dreamy dessert that will satisfy any sweet tooth. Imagine blending your favorite cookies into a thick and luscious shake – it’s indulgence in a glass!

This recipe is a fantastic way to cool down on a hot day or to treat yourself after a long week. It’s simple enough for kids to help with, making it a fun family activity. Plus, you can customize it with toppings or mix-ins if you’re feeling adventurous!

A delicious blend of rich chocolate and creamy vanilla flavors, this milkshake is sure to become your go-to recipe for dessert cravings. Whether you’re hosting a party or just want a quick pick-me-up, this Oreo milkshake is a delightful choice.

The Ultimate Oreo Milkshake

This Oreo milkshake is thick, creamy, and bursting with the classic flavor of chocolate sandwich cookies. The rich and sweet taste is balanced with a smooth texture that makes each sip utterly satisfying.

Ingredients

  • 2 cups vanilla ice cream
  • 1 cup milk
  • 5 Oreo cookies, plus extra for garnish

Instructions

  1. Blend the Ingredients: In a blender, combine the vanilla ice cream, milk, and Oreo cookies. Blend until smooth and creamy.
  2. Adjust the Consistency: If the milkshake is too thick, add a little more milk and blend again until you reach your desired consistency.
  3. Serve: Pour the milkshake into glasses and top with crushed Oreos or a whole cookie for garnish. Optionally, add whipped cream for an extra treat!
  4. Enjoy: Serve immediately and enjoy your delicious Oreo milkshake!

Cook and Prep Times

  • Prep Time: 5 minutes
  • Total Time: 5 minutes

Nutrition Information

  • Servings: 2 milkshakes
  • Calories: 550kcal
  • Fat: 24g
  • Protein: 10g
  • Carbohydrates: 70g
February 11, 2025 0 comments
0 FacebookTwitterPinterestEmail
Breakfast & BrunchDesserts & SweetsQuick & EasyRecipesVegetarians

Irresistibly Fluffy Lemon Zucchini Muffins Recipe

by donnyvicky February 11, 2025
written by donnyvicky

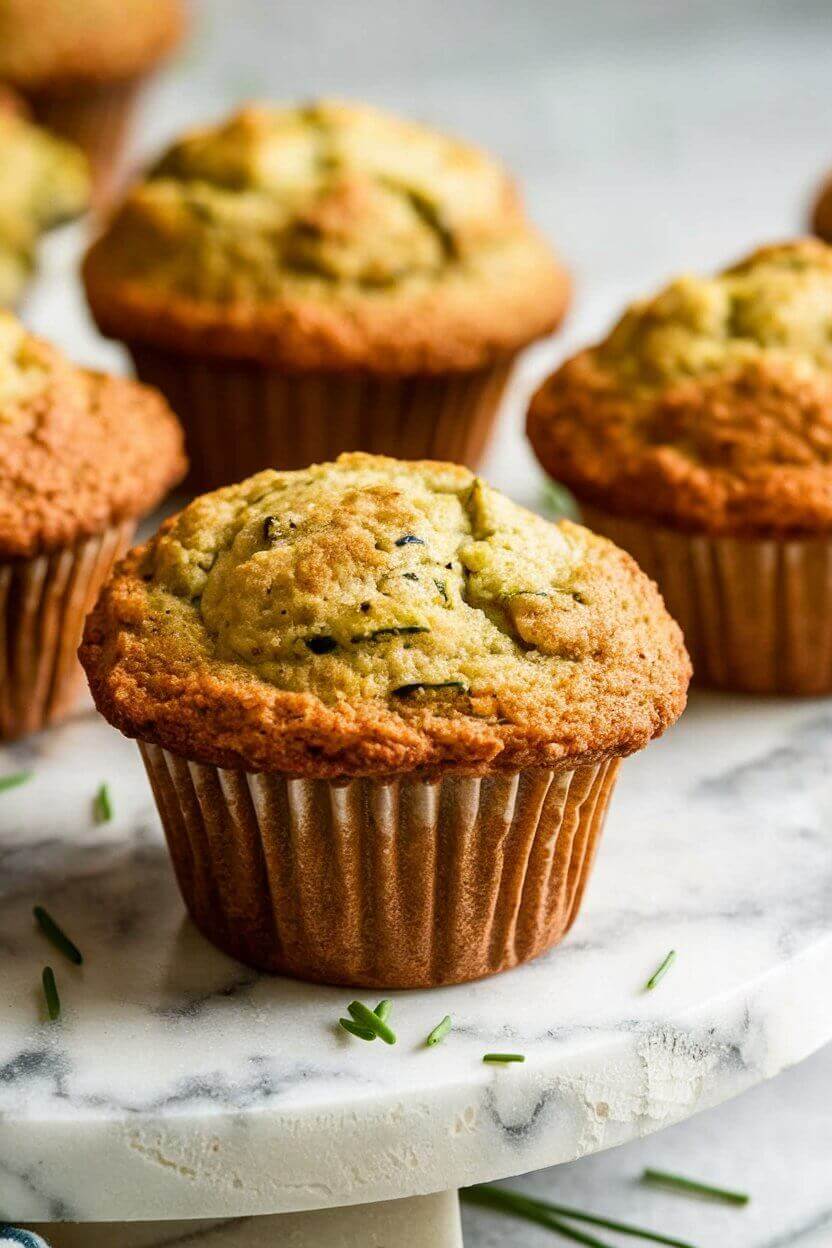
If you’re looking for a delightful treat that combines the freshness of lemon with the subtle sweetness of zucchini, these muffins are the answer. Perfect for breakfast, snacks, or even dessert, these lemon zucchini muffins are a must-try. They offer a light and fluffy texture that melts in your mouth, making every bite a joyful experience.

These muffins are not just delicious; they’re also incredibly easy to make. With simple ingredients, you can whip up a batch in no time. The lemon zest and juice brighten the flavor, while the zucchini adds moisture without overwhelming the taste. You can enjoy them warm from the oven or save some for later – if they last that long!

The Perfect Lemon Zucchini Muffins

These zucchini muffins are fluffy and bursting with citrus flavor. Made with fresh zucchini and a hint of lemon, they are light, moist, and incredibly satisfying. The muffins are a great way to sneak in some veggies while treating yourself to a delicious snack.

Ingredients

  • 1 cup grated zucchini (about 1 medium zucchini)
  • 1/2 cup granulated sugar
  • 1/3 cup vegetable oil
  • 1 large egg
  • 1 teaspoon vanilla extract
  • 1 tablespoon lemon zest
  • 2 tablespoons lemon juice
  • 1 1/2 cups all-purpose flour
  • 1 teaspoon baking powder
  • 1/2 teaspoon baking soda
  • 1/4 teaspoon salt

Instructions

  1. Preheat Oven: Preheat your oven to 350°F (175°C) and line a muffin tin with paper liners.
  2. Mix Wet Ingredients: In a large bowl, combine the grated zucchini, sugar, vegetable oil, egg, vanilla extract, lemon zest, and lemon juice. Mix until well combined.
  3. Combine Dry Ingredients: In another bowl, whisk together the flour, baking powder, baking soda, and salt.
  4. Combine Mixtures: Gradually add the dry ingredients into the wet mixture, stirring just until combined. Be careful not to overmix.
  5. Fill Muffin Tin: Spoon the batter into the prepared muffin tin, filling each cup about 2/3 full.
  6. Bake: Bake for 18-20 minutes, or until a toothpick inserted into the center comes out clean.
  7. Cool and Serve: Allow the muffins to cool in the tin for a few minutes before transferring them to a wire rack to cool completely.

Cook and Prep Times

  • Prep Time: 10 minutes
  • Cook Time: 20 minutes
  • Total Time: 30 minutes

Nutrition Information

  • Servings: 12 muffins
  • Calories: 150kcal
  • Fat: 6g
  • Protein: 2g
  • Carbohydrates: 23g
February 11, 2025 0 comments
0 FacebookTwitterPinterestEmail
Newer Posts
Older Posts

Recent Posts

  • Delicious Peanut Butter and Jelly Oatmeal for Kids
  • Nutty Banana Protein Smoothie
  • Savory and Sweet Homemade McGriddle Recipe
  • Keto-Friendly Avocado and Smoked Salmon Breakfast Bowl
  • Deliciously Stuffed French Toast Recipe

Keep in touch

Facebook Twitter Instagram Pinterest Youtube

Popular Recipes

  • 1

    Sweet and Creamy Brown Sugar Vanilla Iced Coffee

    February 6, 2025
  • 2

    Refreshing Whipped Pink Lemonade Recipe

    February 18, 2025
  • 3

    Refreshing Strawberry Tequila Sunrise Recipe

    February 18, 2025
  • 4

    Refreshing Tropical Passion Fruit Smoothie Recipe

    February 18, 2025
  • 5

    Enchanting Sleeping Beauty Cocktail Recipe

    February 18, 2025
  • 6

    Nutty Banana Protein Smoothie

    February 22, 2025

Recent Posts

  • Delicious Peanut Butter and Jelly Oatmeal for Kids

    February 22, 2025
  • Nutty Banana Protein Smoothie

    February 22, 2025
  • Savory and Sweet Homemade McGriddle Recipe

    February 22, 2025

On Pinterest

Categories

  • Breakfast & Brunch (57)
  • Cocktails & Spirits (8)
  • Coffee, Tea & Hot Beverages (12)
  • Desserts & Sweets (61)
  • Dinner (147)
  • Drinks (47)
  • Meat Lovers (95)
  • Non-Alcoholic & Mocktails (17)
  • Quick & Easy (288)
  • Recipes (296)
  • Seafood (27)
  • Smoothies & Shakes (13)
  • Uncategorized (1)
  • Vegan (36)
  • Vegetarians (73)
  • About me
  • Contact Me
  • Privacy Policy
  • Disclaimer
  • Terms of Service
  • Facebook
  • Twitter

@2021 - All Right Reserved. Designed and Developed by PenciDesign


Back To Top
Healthful Plate
  • Home
  • Recipes
    • Vegan
    • Vegetarians
    • Meat Lovers
    • Seafood
    • Desserts & Sweets
    • Breakfast & Brunch
    • Dinner
    • Quick & Easy
  • Drinks
    • Cocktails & Spirits
    • Coffee, Tea & Hot Beverages
    • Non-Alcoholic & Mocktails
    • Smoothies & Shakes
  • Lifestyle
    • Editor’s Pick
    • Kitchen Gadgets